
Your Complete Guide to an iPhone Factory Reset in Australia
Performing an iPhone factory reset is like hitting the big red button—it erases all your personal data and settings, taking the device right back to its original, out-of-the-box state. It's an incredibly powerful tool for fixing stubborn software glitches, getting your phone ready to sell, or just giving yourself a completely clean slate.
But don't worry, it's not as scary as it sounds. Think of it as a deep clean for your phone's digital life. We’ll walk you through exactly how to do it safely, step-by-step.
Why You Might Need to Reset Your iPhone
A factory reset might sound a bit drastic, but it's one of the most useful tricks any iPhone owner in Australia should know. It’s not just for when things go wrong; it’s a crucial step for protecting your personal information and making sure your device runs the way it should.
A full reset is your best friend in a few common situations. Whether you're getting ready to sell your old phone on a trusted marketplace like Trade.com.au, passing it down to a family member, or you just want that "brand new phone" feeling without the price tag, a reset is the way to go.
Key Reasons for a Factory Reset
Let's break down the main scenarios where wiping your iPhone is the smartest move:
- Selling or Trading In Your Device: Before you hand over your iPhone, you must erase everything. This is non-negotiable. It stops the new owner from accessing your photos, messages, banking apps, and personal accounts.
- Fixing Persistent Software Issues: If your iPhone is constantly crashing, freezing, or running painfully slow—and a simple restart isn't cutting it—a factory reset can often solve those deep-rooted software bugs that other fixes can't touch.
- Preparing for a New Owner: Giving your phone to a mate or a family member? A reset ensures they get a clean start, free from all your data and settings. It lets them set it up as if it were brand new.
- Starting Fresh: Let's be honest, our phones get cluttered. After a few years, they're full of old apps, thousands of photos, and random files. A reset is the ultimate way to clear out all that digital junk in one go.
A factory reset is the ultimate digital declutter. It wipes the slate clean, removing everything from your selfies and messages to saved Wi-Fi passwords, making your device as fresh as the day you unboxed it.
Here in Australia, data security is a huge motivator for a reset. In fact, surveys from late 2023 showed that nearly 70% of users factory reset their device specifically for privacy reasons before selling or recycling it. You can find more details on preparing your device for a new owner on Apple's support page to make sure you've covered all your bases.
Securing Your Data Before You Erase Anything
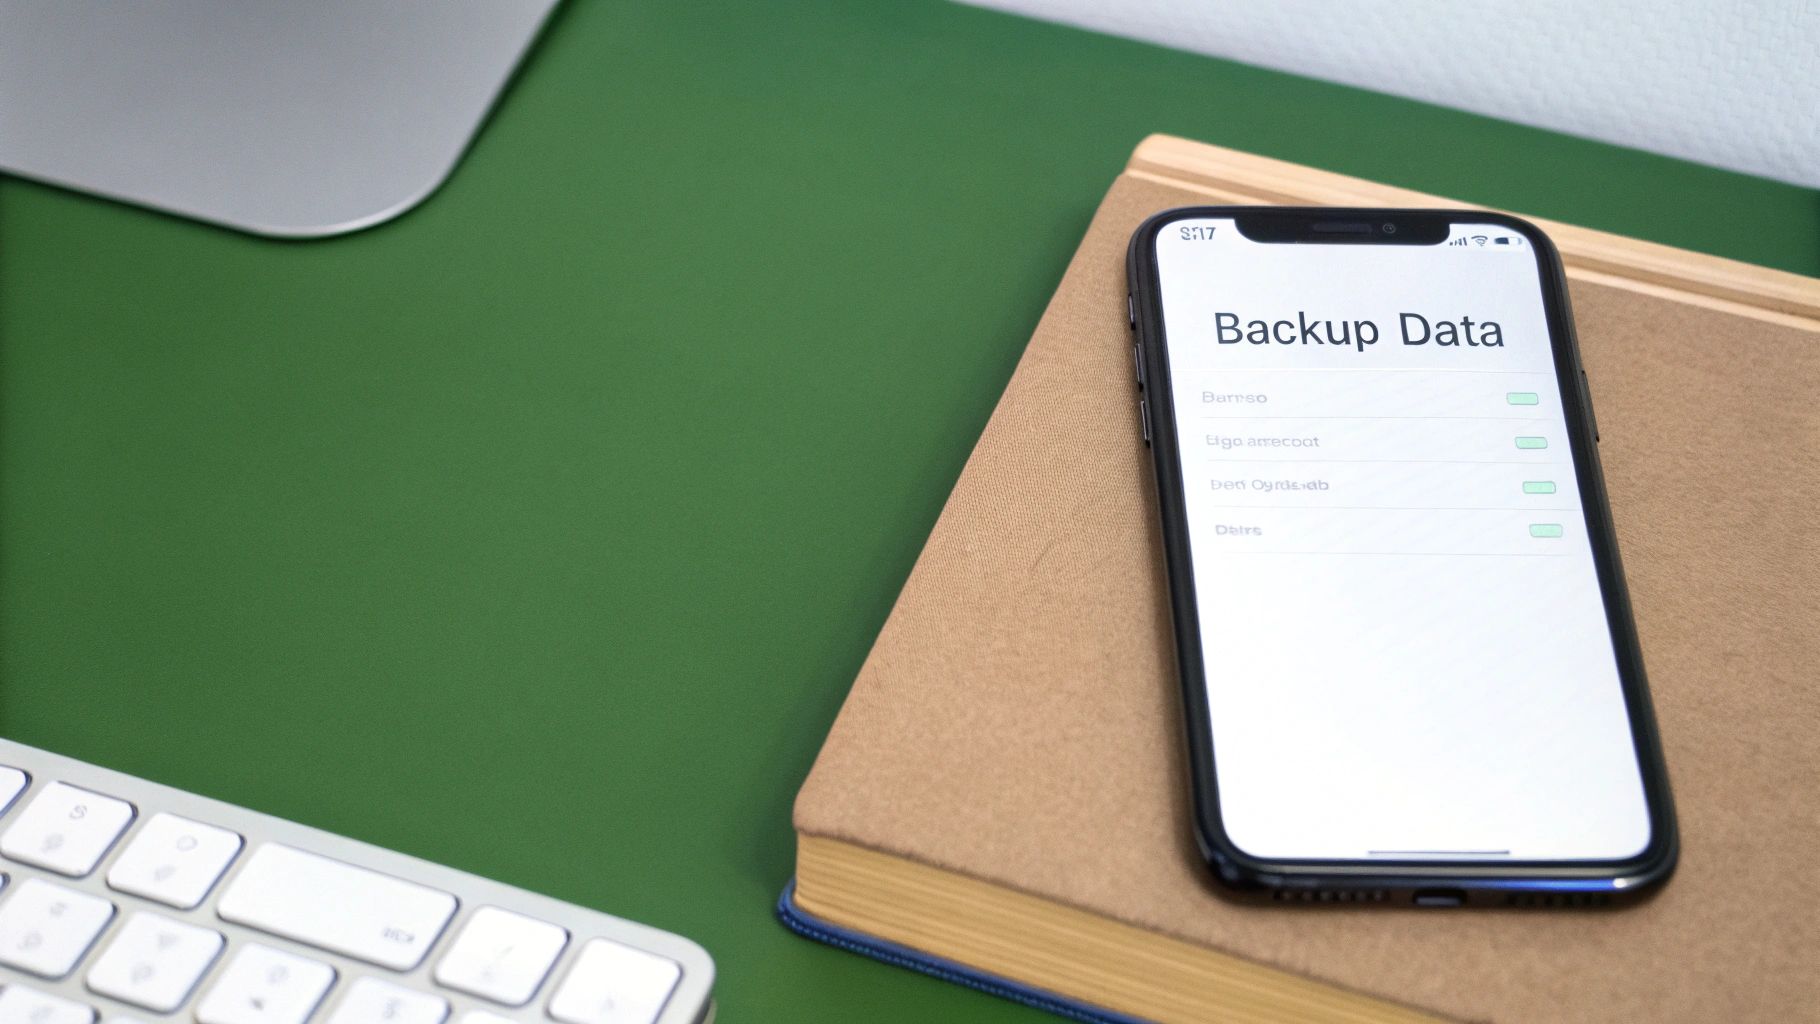
Before you even think about tapping ‘Erase All Content and Settings’, let's create a digital safety net. An iPhone factory reset is permanent. Once your data is gone, there’s no getting it back. This is why creating a full backup is, without a doubt, the most critical step in this entire process.
Think of it like packing up your house before you move. You wouldn't just walk away and leave all your belongings behind; you’d carefully pack every photo album and document. A backup does the same thing for your digital life, preserving your photos, contacts, messages, and app settings so you can easily restore them later.
For iPhone users in Australia, there are two main ways to do this: using iCloud or connecting your phone to a computer. Each path has its pros and cons, and the right choice really boils down to your personal setup.
Choosing Your Backup Method: iCloud vs Computer
To help you figure out which way to go, let’s break down the key differences. Both methods are effective, but they cater to different situations. One offers automated, hands-off convenience, while the other gives you more manual control and isn’t at the mercy of your internet connection.
Here’s a quick comparison to make the decision easier.
| Feature | iCloud Backup | Computer (Finder/iTunes) Backup |
|---|---|---|
| Convenience | Highly convenient; backups happen automatically over Wi-Fi when your iPhone is charging. | Requires a manual connection to a Mac or PC with a cable each time you want to back up. |
| Storage | Limited by your iCloud storage plan; the free 5GB often isn't enough for a full backup. | Limited only by the available storage space on your computer, making it effectively free. |
| Speed | Backup speed depends on your internet connection and can be slow for large amounts of data. | Generally much faster as it uses a direct cable connection to transfer files. |
| Accessibility | You can restore your backup from anywhere with a Wi-Fi connection, no computer needed. | You must have access to the specific computer where the backup is stored to restore your data. |
For a lot of people, iCloud is the simplest "set and forget" option. It works away quietly in the background, making sure your data is always protected. We’ve got a more detailed guide on this right here: how to back up your data on iCloud in Australia.
Backing up to a computer is a fantastic choice if you have a massive library of photos and videos, as you won’t have to pay extra for cloud storage. It’s also the way to go if your home internet is a bit slow, since a cable transfer is much, much quicker.
Ultimately, the goal is simple: have a complete, recent copy of your data stored safely somewhere other than the iPhone you're about to wipe. Whether you go with the cloud or your computer, just be sure to double-check that the backup has finished successfully before moving on.
How to Reset Your iPhone From the Settings Menu
With your precious data safely backed up, you're ready for the main event. Wiping your iPhone directly from the Settings menu is the most common and straightforward way to do it. Apple designed the process to be simple, but there are a couple of crucial things you need to do first to avoid any headaches later, especially if you're selling the phone.
Before you hit the reset button, you absolutely must sign out of your Apple ID. This is a non-negotiable security step. It disconnects your personal account from the device and, most importantly, turns off Find My. If you forget this, the next owner will be greeted with an Activation Lock, turning your old phone into a very expensive paperweight.
Signing Out and Disabling Find My
To get started, jump into your Settings app and tap on your name right at the top. Scroll all the way down and tap Sign Out. You'll be asked for your Apple ID password to disable Find My—pop it in, and you're good to go. This simple action confirms you're the real owner and that you're authorising the device to be set up by someone else.
Once you’re signed out, the path to a clean slate is just a few taps away. This visual guide shows you exactly where to go.
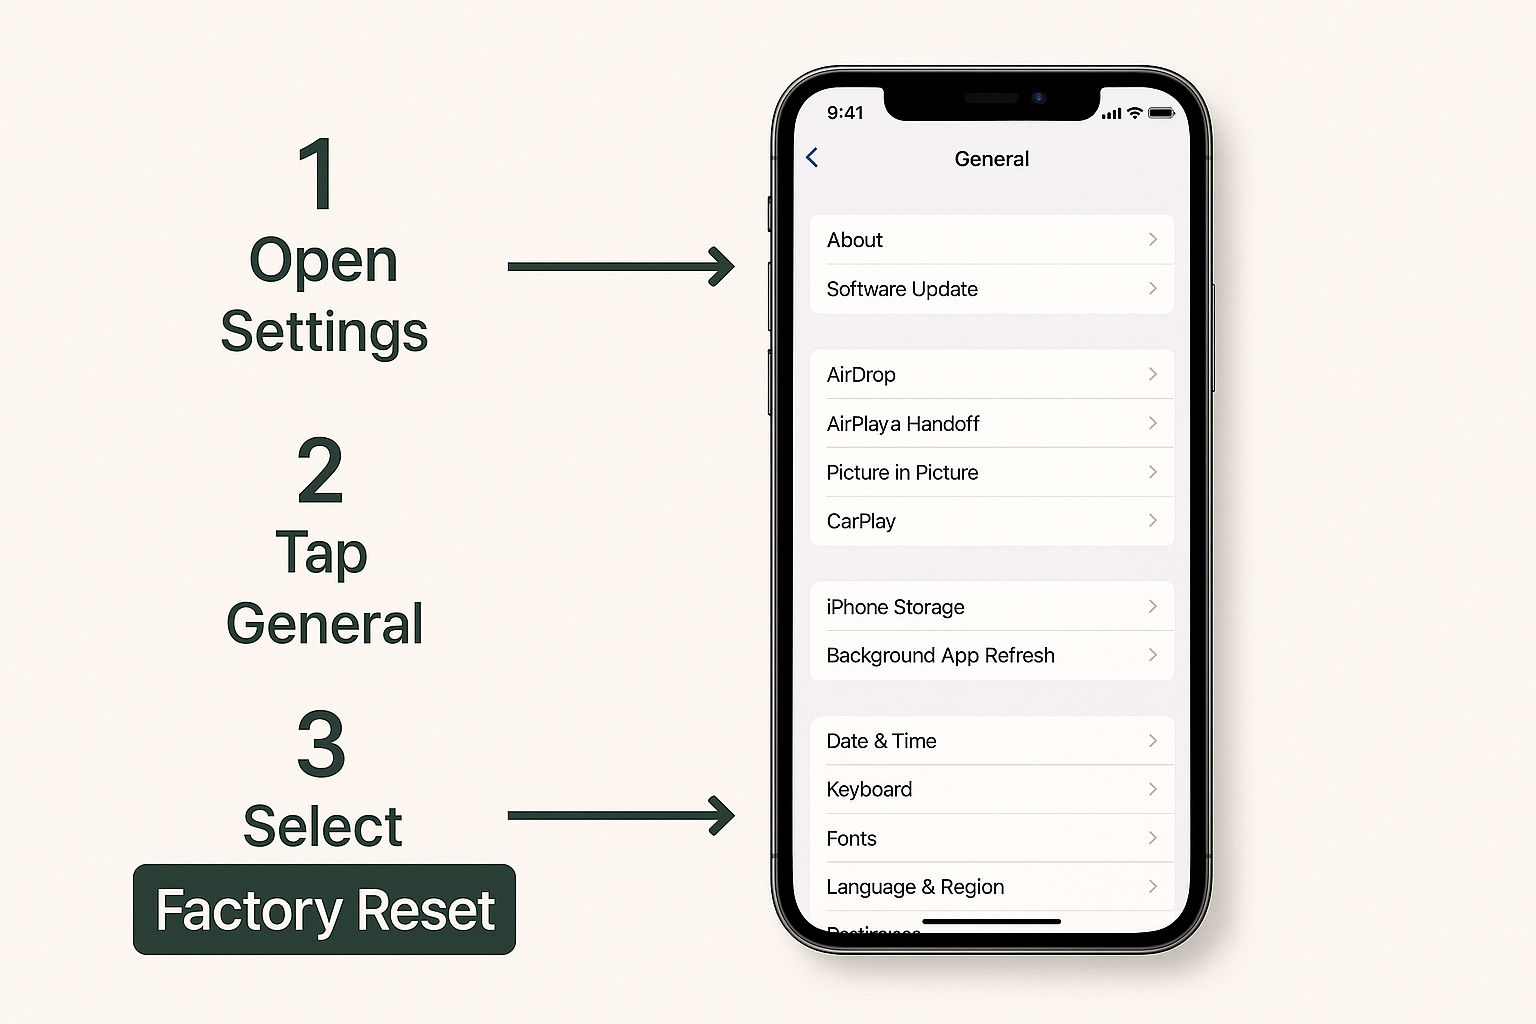
As you can see, the option is neatly tucked away in the General settings, so it's easy to find once you know where to look.
Erasing All Content and Settings
Alright, this is the final step. The reset itself is designed to be permanent, wiping every bit of your personal data, downloaded apps, and custom settings. As a final security check, the system will ask for your device passcode or Apple ID password. This is a great feature, as it stops anyone else from erasing your phone without your permission. If you'd like to dive deeper into what this involves, you can explore the details of an iPhone factory reset.
Here’s the exact path to follow:
- Open the Settings app on your iPhone.
- Scroll down and tap on General.
- Go all the way to the bottom and select Transfer or Reset iPhone.
- On the next screen, tap Erase All Content and Settings.
You’ll see one last confirmation screen summarising everything that’s about to be deleted. Tap Continue, enter your passcode when asked, and the process will kick off. Your iPhone will show the Apple logo with a progress bar. After a few minutes, it will restart to the original "Hello" screen—completely fresh and ready for its next chapter.
Using a Computer for a Deeper iPhone Reset
Sometimes, the standard on-device reset just isn't an option. What if your iPhone’s screen is frozen, or it’s stuck on the Apple logo in an endless loop? When you're facing those kinds of tricky situations, your computer becomes the best tool for the job.
Performing an iPhone factory reset with a Mac or PC is a more powerful process that can solve deeper software problems. This method does more than just wipe your data; it completely reinstalls a fresh version of iOS from the ground up. Think of it as the difference between tidying your room and doing a full renovation—it fixes underlying issues that a simple clean-up can't.
Finder vs. iTunes: What to Use
Depending on your computer, you'll need one of two applications to get this done. It's pretty straightforward:
- Finder: If you're on a Mac running macOS Catalina or newer, you'll use Finder. Your iPhone will appear in the sidebar, just like any other external drive.
- iTunes: For those with older Macs (macOS Mojave or earlier) or any Windows PC, the classic iTunes application is what you'll need.
Don't worry, the steps are nearly identical for both. The main thing is just knowing which program to open first.
This computer-based restore is often the final word for fixing major software corruption. Data from Australian repair centres shows around 35% of iPhone service requests involve issues that are ultimately resolved by this exact type of factory reset. To see how it helps with glitches and unresponsive apps, you can learn more about its role in phone repairs.
Entering Recovery Mode Is Key
Before your computer can work its magic, you need to put your iPhone into a special state called recovery mode. This allows Finder or iTunes to communicate with the device even when iOS isn't running properly.
The button combination to enter recovery mode varies depending on your iPhone model, so it’s important to look up the specific sequence for your device. It usually involves pressing and holding a combination of the volume and side buttons until you see the recovery mode screen.
Once your iPhone is in recovery mode and plugged into your computer, a prompt will pop up on your screen with two options: Update or Restore. You’ll want to select Restore.
This kicks off the process of downloading the latest iOS software from Apple and installing it fresh on your device, wiping everything in the process. It takes longer than an on-device reset, but it’s an incredibly reliable way to bring a misbehaving iPhone back to life.
What to Do After the Reset Is Complete
There it is—the iconic ‘Hello’ screen. Your iPhone is now a clean slate, just like the day it came out of the box. This is the moment you decide what comes next after the iPhone factory reset.
You’re usually at a fork in the road here. Either you’re setting the phone back up for yourself, or you’re getting it ready for a new owner. Each path has a couple of final steps to ensure everything goes smoothly.
Setting Up Your iPhone Again
If you're keeping your iPhone, it's time to bring all your stuff back. This is where that backup you made earlier comes in handy, restoring your apps, photos, messages, and settings just the way you like them.
Getting back up and running is pretty straightforward:
- Run through the initial setup, choosing your language and region.
- Connect to a secure Wi-Fi network. This is crucial for downloading your data.
- When prompted, choose Restore from iCloud Backup or Restore from Mac/PC, depending on where you saved your backup.
- Sign in with your Apple ID to get all your apps and purchases syncing again.
The time it takes can vary a lot, depending on the size of your backup and your internet speed. But once it's done, your phone will feel familiar again.
Preparing Your iPhone for Sale
If you're selling your iPhone or giving it away, you need to make sure it’s completely disconnected from you. This is non-negotiable, as it prevents any future headaches with things like Activation Lock.
Before you pack it up, run through this final checklist:
- Double-check that Find My iPhone is definitely switched off.
- Take out your SIM card or make sure your eSIM profile is removed.
- Give it one last look in Settings > General > Transfer or Reset iPhone to confirm no personal data is left.
For a more detailed rundown, we've put together a guide on the essential things to do before selling your iPhone that covers all the bases.
Properly removing Activation Lock is the single most important step. It guarantees the next owner can set up the iPhone without being blocked by your old account.
Once these final checks are complete, your iPhone is either ready for you to use again or all set for its new home. You've successfully navigated the iPhone factory reset process from start to finish.
Got Questions About Wiping Your iPhone? We've Got Answers
Over the years, we've helped countless Aussies get their old phones ready for a new life, and a few questions about factory resets always pop up. Let's clear up the common ones so you can feel confident hitting that 'Erase All Content and Settings' button.
One of the biggest questions is about the software. If you reset your iPhone from its Settings app, it only wipes your personal data—the version of iOS it's running stays the same. However, if you plug it into a computer and use Finder or iTunes to restore it, your computer will always install the latest compatible version of iOS.
You'll also be asked about your eSIM during the reset. If you're selling or trading in the phone, make sure you choose the option to delete the eSIM. This completely disconnects your mobile plan from the device.
Finally, a common worry we hear is whether wiping an old iPhone will mess with a new one. The short answer is no, it's completely safe. For a more detailed explanation, you can learn about how erasing an old iPhone won't affect your new one.
Ready for an upgrade now that your old phone is wiped clean? Trade.com.au offers a fantastic range of certified refurbished iPhones, all backed by a solid 12-month warranty. By choosing refurbished, you're not just getting a great deal; you're also making a smart choice for the planet. Explore our collection of verified iPhones and find your next device today.