
A Guide to Transfer Data from iPhone to iPhone
Getting a new iPhone, whether it's the latest flagship or a quality refurbished model, is always exciting. But let's be honest, the thought of moving all your photos, contacts, and apps can feel like a chore. The good news? Apple has made the process to transfer data from an iPhone to an iPhone incredibly simple. You can be up and running on your new device in less than an hour, with everything exactly where you left it.
This guide is your friendly walkthrough of the best ways to make sure nothing gets left behind.
Your Smooth Transition to a New iPhone
Unboxing a new iPhone is a great feeling, but setting it up can seem daunting. Don't worry, it's easier than you think. Think of it like moving houses—you just need the right tools to pack up your digital life and unpack it in your new home. We’ll show you how to transfer all your precious photos, contacts, apps, and settings without any headaches.
We're going to explore a few key approaches, each suited to different situations:
- Apple's Quick Start for a direct, wireless transfer when you have both iPhones handy.
- iCloud backups for total flexibility, perfect if you've already traded in your old phone.
- Wired computer transfers using your Mac or PC for the fastest and most complete results.
Whether you're a student in Brisbane setting up your first refurbished iPhone or a professional in Sydney upgrading to the latest model, we'll give you the practical steps to make the switch with confidence.
Choose Your iPhone Data Transfer Method
To help you decide which path is right for you, this quick comparison breaks down the most popular methods. It’ll help you figure out the best approach for your situation before we dive into the step-by-step details.
| Method | Best For | Requirements | Estimated Time |
|---|---|---|---|
| Quick Start | Simplicity and convenience | Old iPhone nearby, Wi-Fi & Bluetooth | 30-60 minutes |
| iCloud Restore | When you don't have the old iPhone | Good Wi-Fi, enough iCloud storage | 1-2 hours |
| Finder/iTunes Backup | The fastest & most complete transfer | A Mac or PC, and a Lightning cable | 15-45 minutes |
| Wired Migration | Direct, fast transfer without a computer | USB-C to Lightning Adapter & cable | 20-40 minutes |
Ultimately, your choice will depend on whether you prioritise speed, convenience, or just need to get your data onto a new device without the old one present.
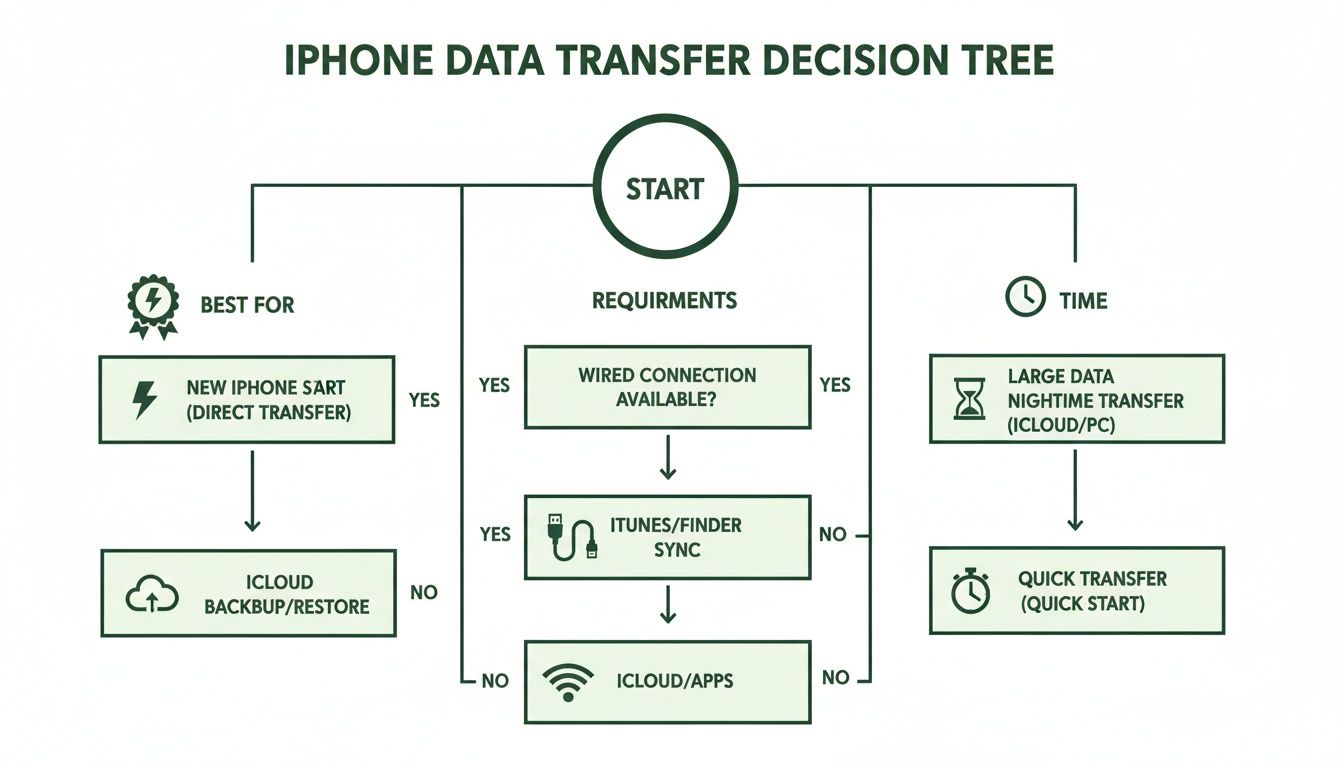
As the flowchart shows, what you have on hand—your old phone, a computer, or just an iCloud backup—is the biggest factor in choosing your method.
Setting Up More Than Just Your Data
Getting your photos and contacts across is just the start. Your new iPhone is also the central hub for all your other Apple services. For instance, once your device is ready, you can easily set up HomeKit with your iPhone to start controlling your smart lights, plugs, and other accessories. It’s another great way to integrate your new phone into your daily life.
Now, let’s get into the details of the first and most popular transfer method.
Using Quick Start for a Direct Device Transfer
Getting your new iPhone set up shouldn't be a chore. Thankfully, Apple's Quick Start feature is the most seamless way to transfer everything from your old iPhone to your new one. It’s like letting your two devices have a direct, secure chat to clone all your apps, photos, and settings—no computer needed.
It's the perfect solution when you have both iPhones in hand. Quick Start uses a smart combination of Bluetooth to get the two phones talking and your Wi-Fi network to move the data, turning a technical task into a simple, on-screen process.
How the Quick Start Process Works
Getting started is incredibly simple. Just turn on your new iPhone and place it right next to your old one. Almost instantly, your old phone will spot the new device and a pop-up will appear, asking if you want to set up the new iPhone using your current Apple ID.
Once you confirm, a swirling blue animation will appear on your new iPhone's screen. All you have to do is hold your old iPhone over it and line up the animation in the camera's viewfinder, almost like scanning a QR code. This unique pattern securely pairs the two devices.
From there, you’ll be prompted to enter your current passcode on the new device and set up Face ID or Touch ID. Then comes the real magic: you'll get the option to "Transfer from iPhone," which kicks off the direct data migration.
What You'll Need
To make sure everything goes smoothly, it pays to have a few things ready before you start. A little prep can save you from frustrating interruptions mid-transfer.
- Both iPhones: You’ll need your old and new devices sitting side-by-side.
- A Wi-Fi Connection: A stable and speedy Wi-Fi network is essential for moving your data.
- Bluetooth Enabled: Make sure Bluetooth is switched on for both phones so they can find each other.
- Plenty of Battery: The best move is to plug both iPhones into a power source. You don’t want one of them dying halfway through.
Pro Tip: If your old iPhone is running an iOS version older than 12.4, Quick Start will only transfer your basic settings. To get the full data migration, you'll need to update your old device first. Just head to
Settings > General > Software Updateto check.
Understanding Transfer Times
One of the first questions everyone asks is, "How long is this actually going to take?" The on-screen estimate can sometimes look a bit intimidating, but it's often faster in practice. Here in Australia, where over 90% of people aged 15-65 own a smartphone, getting a new device up and running fast is a top priority.
While your iPhone might show a 40-minute transfer time, many people find the whole process wraps up in under 25 minutes. That’s great news for Aussies, who are known to use six times more mobile data than average and want to get back online ASAP. You can discover more about Australia's mobile habits and see how these transfer times stack up.
Ultimately, the duration really depends on a few things:
- The Amount of Data: A 256GB iPhone packed with photos and 4K videos will naturally take longer than a 64GB model with just the basics.
- Your Wi-Fi Speed: A fast, stable internet connection can seriously cut down the transfer time.
- iPhone Models: Newer iPhones with more powerful processors tend to complete the process more quickly.
For anyone after a fast, secure, and cable-free setup, Quick Start is the go-to method. It’s especially handy for customers who buy a refurbished iPhone from a trusted marketplace like Trade.com.au and want to migrate their data seamlessly. It ensures your new-to-you iPhone feels like your iPhone from the second you turn it on.
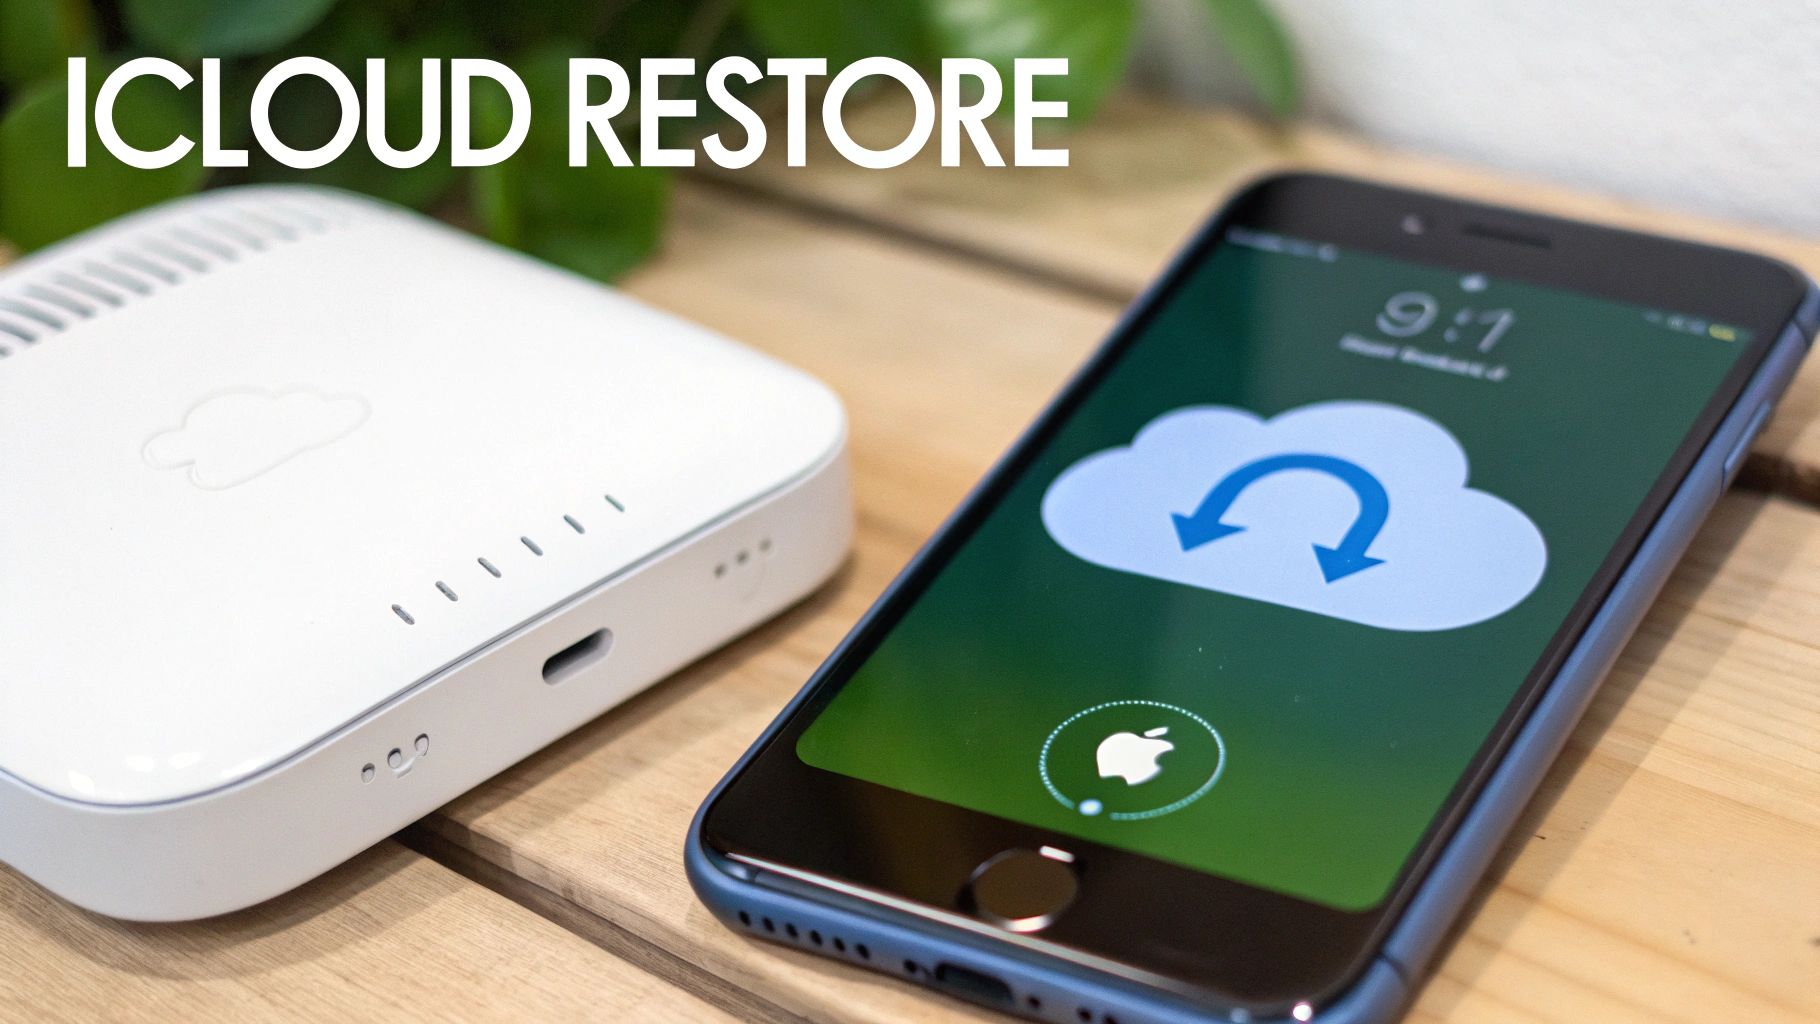
Using an iCloud Backup For a Flexible Wireless Restore
If you value flexibility, restoring your new iPhone from an iCloud backup is a fantastic choice. Think of it as your entire digital life, tucked away safely in the cloud and ready to be downloaded whenever you are. This method is an absolute lifesaver if you’ve already traded in your old iPhone or just prefer the ‘set-and-forget’ convenience of a completely wireless restore.
The whole process hinges on one critical step: making sure you have a recent, complete backup of your old device. Without a fresh backup, you risk leaving behind your latest photos, messages, or app data. Nobody wants that.
Preparing Your iCloud Backup
Before you even crack open the box of your new iPhone, grab your old one and check its backup status. A few minutes of prep here will save you a world of headaches later.
- Jump into Settings, tap your name at the top, and then select iCloud.
- From there, find and tap iCloud Backup.
- You should see a message telling you when the last successful backup happened. If it’s more than a day old—or if you've done anything important since—it’s a good idea to hit “Back Up Now” to create a fresh copy.
This needs a stable Wi-Fi connection and can take anywhere from a few minutes to over an hour, depending on how much new data there is. Make sure you have enough iCloud storage, too. For a more detailed walkthrough, check out our guide on how to back up your data on iCloud in Australia.
Starting the Restore on Your New iPhone
Once your new iPhone is powered on and you’ve gone through the initial language and region screens, you’ll land on the "Apps & Data" screen. This is where the magic happens.
Select "Restore from iCloud Backup." You'll need to sign in with the same Apple ID you used on your old device. After that, you'll see a list of available backups—make sure you choose the most recent one to get all your latest information across.
Key Advantage: One of the best things about an iCloud restore is that you can start using your new iPhone almost immediately. The essentials like your settings and contacts come down first, while your apps, photos, and other media download quietly in the background over Wi--Fi.
This means you can start exploring your new phone while the rest of your digital life settles in.
What to Expect During the Restore
How long this all takes really comes down to your internet speed and the size of your backup. We’ve seen that Australian iPhone users have a massive appetite for data—consuming six times the average—so a large backup is pretty common.
While iCloud might give you a breezy estimate of 15 minutes, don't be surprised if it stretches to a couple of hours before everything is fully downloaded. Patience is key here. This method is perfect for anyone who needs to transfer data from an iPhone to an iPhone after sending their old device off to a trade-in service like Trade.com.au, ensuring nothing gets lost in the swap.
Here’s a quick rundown of the pros and cons:
-
Pros:
- Location Independent: Your old iPhone doesn't even need to be in the same room.
- Usable During Transfer: Your new phone is functional while apps and media download in the background.
- Completely Wireless: No cables or computers needed.
-
Cons:
- Wi-Fi Dependent: A slow or patchy Wi-Fi connection can turn this into a very long wait.
- Storage Limitations: You need to have enough iCloud storage to hold your entire backup.
If convenience and flexibility are at the top of your list, restoring from iCloud is an excellent and reliable way to make your new iPhone feel like home.
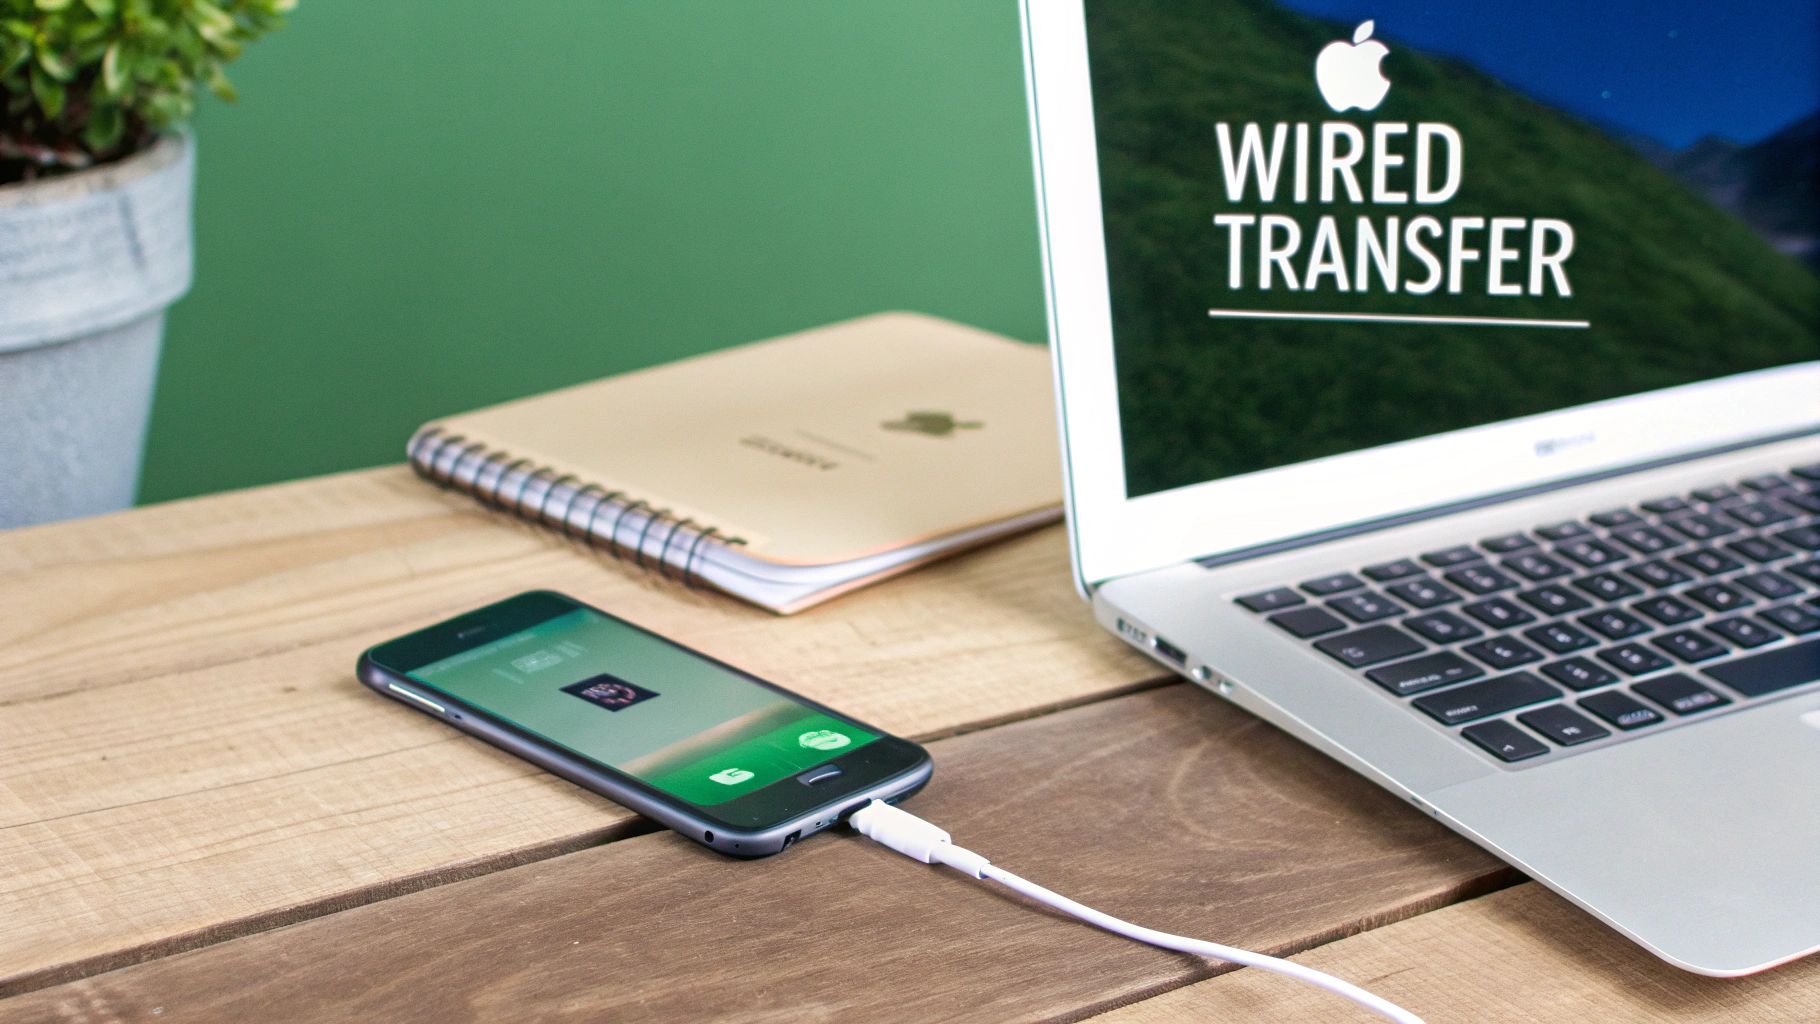
A Wired Transfer Using Your Computer
When speed and absolute reliability are your top priorities, you can’t beat a good old-fashioned wired transfer using your Mac or PC. Think of this as the gold standard for creating a perfect, one-to-one clone of your old iPhone.
It’s almost always the fastest method, and you’re not at the mercy of a dodgy Wi-Fi connection. If you’re dealing with a massive photo library or years of accumulated data, this is the way to go. It uses a direct, physical connection to move everything over, which minimises the chances of errors or interruptions.
This is the method many tech enthusiasts swear by. Why? Because it offers the most control and ensures every single piece of data—from your saved Wi-Fi passwords to your Health app history—makes the journey safely.
Creating an Encrypted Backup on Your Computer
The heart of this method is creating a secure, local backup of your old iPhone right on your computer. The key word here is encrypted. An unencrypted backup will transfer your photos, apps, and contacts, but it leaves behind all the sensitive stuff.
By simply ticking one extra box, you ensure that your most personal data is included in the transfer.
- Saved Passwords: All your saved passwords for Wi-Fi networks, apps, and websites will come across.
- Health and Activity Data: Your step counts, workout history, and other crucial health metrics will be preserved.
- Website History: Your browsing history in Safari will be fully restored.
- HomeKit Settings: Your entire smart home configuration will transfer seamlessly.
Think of encryption as a secure digital moving box; it not only protects your data during the move but also makes sure nothing sensitive gets left behind. Without it, you'll spend your first day on your new phone re-entering passwords and losing valuable history.
How to Back Up Using Finder or iTunes
The tool you’ll use depends on your computer’s operating system. On a modern Mac running macOS Catalina or newer, you'll use Finder. If you have an older Mac or a Windows PC, you’ll be using iTunes. Don't worry, the process is nearly identical for both.
- Connect Your Old iPhone: Use a Lightning or USB-C cable to connect your old iPhone to your computer.
-
Find Your Device:
- On a Mac: Open a Finder window. You’ll see your iPhone listed in the sidebar under "Locations." Click on it.
- On a PC: Open iTunes and click the small iPhone icon that appears near the top-left of the window.
- Encrypt the Backup: On the main summary screen, find the "Backups" section. This is the most important step: tick the box that says "Encrypt local backup." You’ll be prompted to create a password. Make it something memorable, as you’ll need it to get your data back!
- Start Backing Up: Once the password is set, click "Back Up Now." Your computer will now create a complete, encrypted copy of your iPhone. This might take anywhere from 15 to 45 minutes, depending on how much stuff you have.
Why a Wired Backup is a Great Idea: Even if you plan to use Quick Start, making an encrypted computer backup beforehand is a smart move. It serves as a comprehensive, secure safety net, giving you a complete restore point if anything goes wrong.
Restoring the Backup to Your New iPhone
Once the backup is complete, you’re ready to bring your new iPhone to life. The restore process is just as straightforward.
First, unplug your old iPhone. If your new iPhone isn’t fresh out of the box, you’ll need to erase it first. Head to Settings > General > Transfer or Reset iPhone > Erase All Content and Settings.
When your new iPhone displays the "Hello" screen, follow the initial setup steps. When you reach the "Apps & Data" screen, here’s what to do:
- Select the option to "Restore from Mac or PC."
- Connect your new iPhone to the same computer you used for the backup.
- Your computer will recognise the new device in Finder or iTunes. Select "Restore from this backup" and choose the encrypted backup you just created from the dropdown menu.
- Enter the encryption password when prompted, and the transfer will begin.
Your new iPhone will restart once the process is complete, and it will be an exact replica of your old one. This method is the ultimate way to transfer data from an iPhone to an iPhone with maximum speed and precision, perfect for getting a refurbished device from Trade.com.au set up just the way you like it.
Moving Specific Files Instantly with AirDrop
Sometimes, you don’t need to move your entire digital life over. A full backup can feel like overkill when all you really need are a few key files.
Maybe you’ve just grabbed a fantastic refurbished iPhone from Trade.com.au and want to quickly send over your work portfolio from your old device. Or perhaps you just need to share a few dozen holiday snaps with a friend. For these surgical strikes, your best tool is AirDrop.
AirDrop is Apple’s ridiculously fast, direct file-sharing feature. Think of it as a secure, wireless courier that zips files between nearby Apple devices in seconds. It uses a clever mix of Bluetooth and Wi-Fi to create a direct link, making it perfect for those on-the-spot transfers when time is of the essence.
Getting AirDrop Ready for Action
Before you can start sharing, you’ll need to make sure both iPhones are ready to talk to each other. It’s a quick setup that will save you any connection headaches later on.
On both your old and new iPhones, swipe down from the top-right corner to open the Control Centre. Now, press and hold the network settings box (where the Wi-Fi and Bluetooth icons live) to expand it. Tap on AirDrop and choose who can send you files:
- Receiving Off: Nobody can send you files. Simple.
- Contacts Only: Only people in your contacts list can see your device. This is the best setting for everyday privacy.
- Everyone for 10 Minutes: Anyone with an Apple device nearby can see your phone and send a request. This is the one to use when sharing with someone not in your contacts.
For a transfer between your own devices, "Contacts Only" is the perfect choice. Just make sure Wi-Fi and Bluetooth are switched on for both phones.
When AirDrop Is the Perfect Choice
This method really shines in those real-world moments where a full transfer isn't necessary. Imagine a student in a lecture needing to flick their notes from an old iPhone to a new one, or a freelancer sending a batch of product photos to their new business phone right before a client meeting. It’s all about speed and precision.
In Australia, where 81% of people get online via mobile, AirDrop is a game-changer for these selective transfers. It moves files like edited videos from CapCut (which saw 6.16 million local downloads) or entire chat histories from WhatsApp (3.91 million downloads) in seconds. This completely bypasses iCloud's potential wait times—ideal for Trade.com.au customers who need to quickly move essential files to their newly purchased refurbished iPhones right away. You can find out more about how AirDrop simplifies iPhone to iPhone transfers and why it's a go-to for quick moves.
A Quick Tip: If the receiving iPhone doesn't appear in the AirDrop menu, try toggling AirDrop off and on again on both devices. Also, make sure Personal Hotspot is turned off on both iPhones, as it can sometimes interfere with the connection.
How to Share Files with AirDrop
The process is built right into iOS, making it incredibly intuitive. You can share directly from almost any app.
Here’s how it works:
- Find your file: Open the app that holds what you want to share, whether it's Photos, Contacts, Files, or even a webpage in Safari.
- Select your items: Tap to choose the specific photo, contact, document, or link you want to send.
- Hit the Share button: Look for the share icon (it’s a box with an arrow pointing up).
- Pick AirDrop: Tap the AirDrop icon in the share sheet. You'll see a list of nearby AirDrop-enabled devices pop up.
- Tap the recipient: Choose the icon for your new iPhone.
A notification will appear on the new device’s screen. Just tap "Accept," and the file will transfer instantly and land in the right app—photos in the Photos app, contacts in the Contacts app, and so on. It’s the simplest way to transfer specific data from an iPhone to an iPhone without the long wait.
Getting Your Old iPhone Ready for Trade-In
Once all your data is safely on your new iPhone—and you’ve double-checked that your photos, contacts, and apps have made the journey—it’s time for the final, most important step. Preparing your old iPhone for its next life, whether you're selling it or trading it in, is all about protecting your privacy. This isn't just a good idea; it's essential for your digital security.
Think of it like moving house. You wouldn’t just walk out leaving photo albums and personal documents behind for the next owners. The same principle applies here—you need to make sure every last trace of your digital life is scrubbed clean before that iPhone leaves your hands.
The Pre-Trade-In Security Checklist
Following a simple, step-by-step process ensures you don't miss anything. Each action is designed to sever the connection between your accounts and the physical device, making it impossible for anyone else to get a peek at your data. This not only protects you, but it also makes the iPhone ready for its new owner, which is crucial for its trade-in value.
| Step | Action | Why It Is Important |
|---|---|---|
| Unpair Apple Watch | If you have one, unpair your Apple Watch from your old iPhone. | This automatically creates a fresh backup of your Watch data, ready for your new phone. |
| Sign Out of Services | Go to Settings, tap your name, and sign out of iCloud, iTunes & App Store. |
This is the key step that deactivates Find My and removes the device from your Apple account. |
| Erase Everything | Go to Settings > General > Transfer or Reset iPhone and select Erase All Content and Settings. |
This securely wipes all your data and settings, returning the iPhone to its factory state. |
Following these steps guarantees a secure and smooth handover, ensuring the device is a clean slate for the next person.
By completing these steps, you are not just clearing your data; you are removing the Activation Lock, a powerful security feature tied to your Apple ID. A device with Activation Lock enabled is unusable for a new owner and has zero trade-in value.
Why a Full Factory Reset Is a Must
A factory reset does more than just delete your files; it securely overwrites the data, making it virtually unrecoverable. It’s the digital version of shredding a sensitive document instead of just tossing it in the recycling bin. This ensures that even with specialised tools, your private information stays private.
Taking these precautions ensures a smooth, secure transaction for everyone. For a more detailed walkthrough, you can learn more about how to correctly perform an iPhone factory reset on our blog. Getting this right means you can confidently trade in your old device, knowing your personal information is safe and the phone is ready for its new life.
Common Questions About iPhone Data Transfers
Even with Apple's slick transfer tools, a few questions always pop up when you're moving from an old iPhone to a new one. Let's run through the most common queries we see from Aussies in our community, so you can get your new phone set up without a hitch.
How Long Will the Transfer Actually Take?
This is the big one, and the honest answer is: it really depends. The time it takes is directly tied to the method you choose and just how much stuff you’re moving. A nearly-full 256GB iPhone will naturally take a lot longer than a 64GB model with just the basics.
Here’s a realistic breakdown of what to expect:
- Quick Start: This is usually the sweet spot for speed and convenience. For most people, you're looking at about 20 to 45 minutes.
- iCloud Restore: This one is all about your internet connection. With good NBN, it could be done in 30 minutes, but on a slower connection, it might take a couple of hours for everything to download.
- Wired Computer Transfer: This is almost always the fastest way to go. Even with a massive backup, you can often be done in just 15 to 30 minutes.
Will My App Passwords Transfer Over?
Yes, they will—but there's a crucial catch. All your sensitive info like app passwords, saved Wi-Fi networks, and Health data will only come across if you use an encrypted transfer method.
Luckily, Apple makes this pretty straightforward:
- Quick Start automatically encrypts the connection between your two iPhones. No extra steps are needed.
- For iCloud backups, you just need to make sure iCloud Keychain is switched on in your Apple ID settings.
- If you're using a Mac or PC, you must tick the "Encrypt local backup" box in Finder or iTunes. Forgetting this is a classic mistake that causes a lot of headaches later on.
Important Takeaway: Always, always use an encrypted transfer. It’s the only way to get that seamless experience where you don't have to spend your first day with your new iPhone re-entering passwords for every single app.
What Happens if the Transfer Gets Interrupted?
First off, don't panic. It happens. If your Wi-Fi drops out or a cable gets unplugged, you'll most likely have to start the setup process again.
For a Quick Start or wired transfer, this usually means factory resetting the new iPhone to get back to that initial "Hello" screen. An iCloud restore is a bit more forgiving; while you might need to restart the initial setup, your apps and photos will typically resume downloading as soon as you have a stable connection again.
Before you trade in your old iPhone, it's vital to make sure your data is completely wiped. For a deeper look into professional standards, understanding secure data handling practices is a good idea. A common worry is whether wiping your old device will somehow mess with your new one. We cover this in detail in our guide, which confirms if erasing an old iPhone affects a new one—rest assured, your new device is completely safe.
Ready for an upgrade? At Trade.com.au, we make it easy to buy certified refurbished iPhones and sell your old one online. Explore our range of verified devices and get a great deal today! https://www.trade.com.au