How to Wipe an iPhone Securely Before You Sell It in Australia

Getting your iPhone ready to sell or trade-in is a big deal, and wiping your personal data is the most critical part of the process. This isn’t just about deleting a few photos; it’s a complete factory reset that protects your private messages, banking info, and every password you've ever saved from falling into the wrong hands.
Think of it this way: you wouldn't sell your house and leave all your personal belongings behind for the next owner. The same principle applies here. This guide will walk you through exactly how to wipe an iPhone safely, ensuring a smooth and secure handover.
Why Wiping Your iPhone Is Non-Negotiable
Before you hand over your old iPhone to get cash for a new one, you absolutely have to erase it properly. It’s the final firewall between your private life and the device's next owner. Skip this step, and you could be leaving a trail of digital breadcrumbs leading straight back to your most sensitive accounts and memories.
The Real Risks of Not Wiping Your Device
Leaving your data on an old phone is like posting your house keys to a stranger. Even if you think you’ve deleted the important stuff, bits and pieces of your data can often be recovered with the right software. This isn't just theory; it's a real-world risk that could expose:
- Login Credentials for your banking apps, email, and social media.
- Private Messages and photos you thought were gone for good.
- Contact Information for your entire network of friends, family, and colleagues.
- Location History that maps out your daily routines.
With millions of iPhone users here in Australia, the potential for problems is huge. An ACCC survey brought this home, revealing that a shocking 28% of second-hand phone buyers in Queensland found data from previous owners. Worse still, 1.2% of those cases led to serious identity theft scares. If you want to dive deeper, you can learn more about how Apple secures your data directly from them.
Faster Trade-Ins and Better Value
Security aside, there’s a practical reason to wipe your phone: it makes the trade-in process way smoother. When you sell your device to a trusted marketplace like Trade.com.au, our technicians have to verify that it’s completely free of personal data and not locked to an account.
A phone that arrives already factory-reset and free of any iCloud locks can be processed and verified much quicker. This means you get paid faster, helping you put that cash towards your new device without any frustrating delays.
At the end of the day, knowing how to wipe an iPhone properly is a simple skill with huge payoffs. It protects your privacy, speeds up your trade-in, and gives you total peace of mind. It’s just the smart way to say goodbye to your old device.
Your Pre-Wipe Safety Checklist
Before you hit that ‘Erase All Content and Settings’ button, let's take a breath. Jumping the gun here can mean losing years of precious photos or creating a digital paperweight for the next owner.
Think of this checklist as your pre-flight safety briefing. A few simple steps now will guarantee a smooth, stress-free journey as you prepare your iPhone for its new life. The goal is to save everything you need and leave absolutely nothing behind for the next person.
Step 1: Back Up Everything First
This is the most important step, period. A backup is a complete copy of your iPhone's data—photos, contacts, apps, settings, the lot—that you can seamlessly restore onto your new device. You’ve got two main ways to get this done.
It's a good idea to understand the different types of backup available, as this will help you pick the right method to keep your information safe.
-
iCloud Backup: For most people in Australia, this is the easiest option. It works automatically over Wi-Fi when your phone is charging, so your data is always kept safe in the background. You get 5GB of storage for free, but you’ll likely need to upgrade your plan to back up everything.
-
Computer Backup (Mac/PC): This method creates a full backup directly onto your computer using Finder (on modern Macs) or iTunes (on older Macs and PCs). It’s much faster for restoring a new phone and doesn't require paying for extra cloud storage, making it a fantastic choice if you’ve got the space on your computer.
For a detailed walkthrough, check out our guide on how to backup your data on iCloud in Australia. It’ll make sure you don't miss a single thing.
Step 2: Disable Find My and Sign Out of iCloud
This is a non-negotiable step for any trade-in service, including us here at Trade.com.au. The Find My feature is tied to a powerful security lock called Activation Lock. As long as it's enabled, the iPhone is essentially useless to anyone else, because it’s still digitally handcuffed to your Apple ID.
Turning off ‘Find My’ before you wipe your device is an absolute must. It proves to the next owner—or a technician at a marketplace—that the device is legitimately yours to sell and is ready for a new home.
It’s easy to do. Just head to Settings > [Your Name] > Find My, and toggle Find My iPhone to the off position. You'll need to enter your Apple ID password to confirm. Once that’s done, go back to Settings and tap Sign Out at the very bottom.
Step 3: Unpair Your Apple Watch and Other Devices
If you have an Apple Watch, unpairing it from your iPhone is a crucial final touch. This process does two things at once: it automatically creates a fresh backup of your Watch data and severs its connection to your old phone. Forgetting this can cause all sorts of pairing headaches when you try to set it up with your new iPhone.
To unpair it, simply open the Watch app on your iPhone, go to the My Watch tab, tap All Watches, then hit the little info button (i) next to your watch. From there, select Unpair Apple Watch.
Following these pre-wipe checks guarantees your personal data is secure and your old iPhone is perfectly prepped for its next owner.
Choosing the Right Method to Wipe Your iPhone
Now that you've done the essential prep work, it’s time to actually erase your iPhone. Apple provides a few different ways to get the job done, and the best approach depends on your situation—whether you have the phone in hand, it’s gone missing, or it’s not working correctly.
Think of it like choosing the right tool for a job. You wouldn't use a sledgehammer to hang a picture frame. We'll walk through the most common options so you can pick the one that makes sense for you.
This simple decision tree can help you visualise the steps needed before you commit to erasing your device.
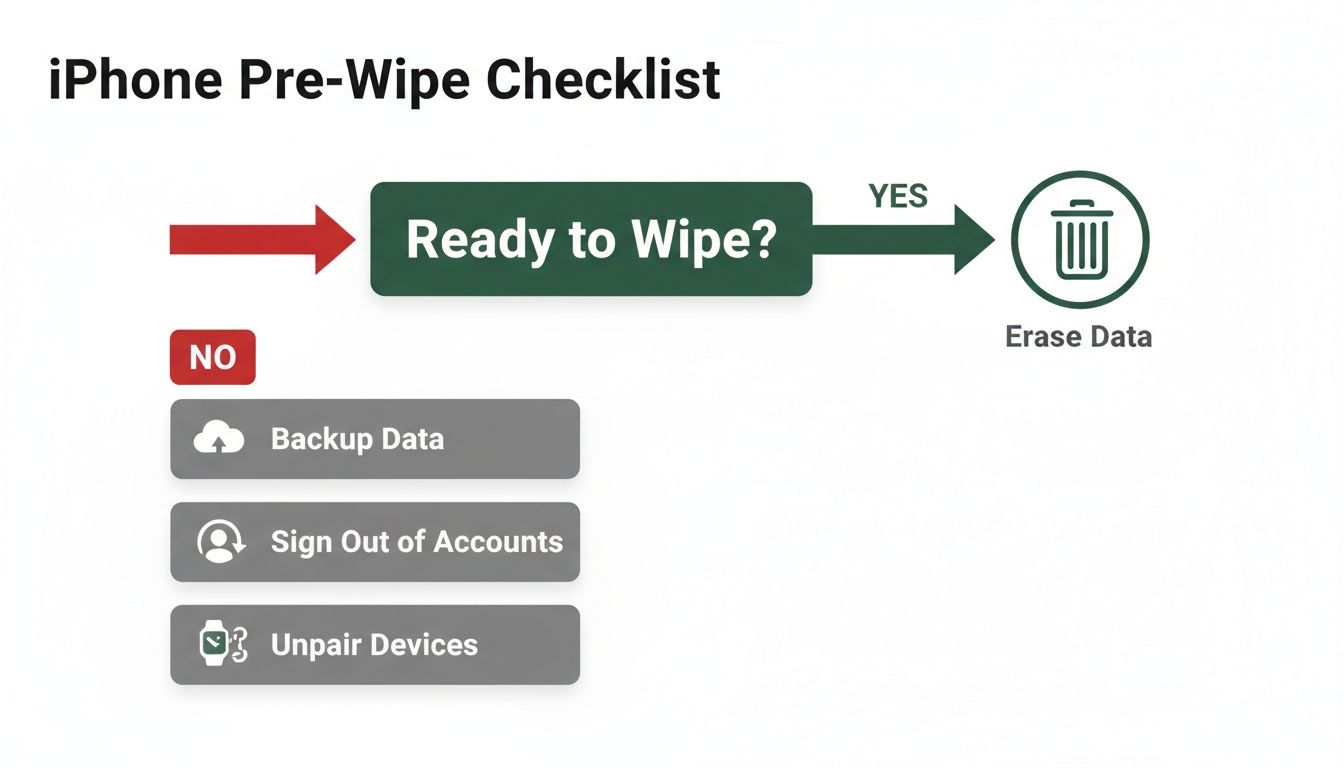
This graphic is a great final reminder to double-check that your backup is complete, you’ve signed out of your Apple ID, and your Apple Watch is unpaired before you go any further.
Which iPhone Wipe Method Should You Use?
Use this quick comparison to find the best approach for your needs, whether you're preparing for a trade-in or dealing with a lost device.
| Wipe Method | Best For | What You Need |
|---|---|---|
| Settings App | Standard trade-ins and sales where the phone works perfectly. | Access to the phone, your passcode, and Apple ID password. |
| Find My (Remote) | A lost or stolen iPhone that you can't physically access. | Find My enabled before it was lost, and your Apple ID login. |
| Finder/iTunes | An unresponsive, glitchy, or password-locked iPhone. | A Mac or PC, a compatible cable, and an internet connection. |
| Recovery/DFU Mode | Serious software issues or when other methods fail. | A computer, cable, internet, and a bit of technical confidence. |
Each method gets the job done securely, but picking the right one from the start will save you time and potential headaches.
The Standard Method: Erasing Directly From Your iPhone
For most people getting their device ready to sell or trade in online with a service like Trade.com.au, this is the go-to method. It's fast, secure, and doesn't require anything but the iPhone itself. All you’ll need is your passcode and Apple ID password.
The process is incredibly straightforward. Just navigate to Settings > General > Transfer or Reset iPhone. From there, you'll tap Erase All Content and Settings and confirm your choice. It's a powerful and final step, which is why we always stress the importance of a final backup—an estimated 22% of users forget to do this and lose precious memories.
Don't be tempted by the "Reset All Settings" option you see nearby. That only clears things like Wi-Fi passwords and your wallpaper, leaving all your photos and personal data right where they are. For a trade-in, you need the full wipe.
This method is ideal because it uses the iPhone’s own powerful encryption to securely overwrite your data, making it practically impossible for anyone to recover. It's the gold standard for preparing a device for a new owner.
For a more detailed walkthrough of these steps, check out our guide on how to perform an iPhone factory reset.
The Remote Wipe: Using Find My for a Lost or Stolen iPhone
What if your iPhone isn't in your hands? If it’s been lost or stolen, you can't exactly open the Settings app. This is where the Find My feature becomes a lifesaver. As long as you had it enabled before the device went missing, you can trigger a full, secure wipe from anywhere in the world.
Here’s how it works:
- Log in: Head to iCloud.com/find on any computer or use the Find My app on another one of your Apple devices.
- Find your device: You'll see a map with your device's last known location. Select your missing iPhone from the list.
- Trigger the erase: Choose the “Erase iPhone” option. You’ll be asked to confirm, because once you do this, there’s no going back.
As soon as you confirm, the command is sent. If the phone is online, it will start erasing immediately. If it's offline (turned off or without a signal), the command will queue up and execute the second it connects to the internet. Crucially, Activation Lock remains on even after the wipe, which means a thief can't set it up as their own. It becomes a paperweight to them.
The Full Restore: Using a Mac or PC for a Problematic iPhone
Sometimes, things just go wrong. An iPhone can get stuck in a boot loop, become completely unresponsive, or suffer from a major software glitch. In these cases, you can't get into the Settings app, making the standard wipe impossible. This is when connecting your iPhone to a computer for a full restore is your best bet.
This method uses Finder (on macOS Catalina and newer) or iTunes (on older Macs and all Windows PCs) to completely reinstall a fresh copy of iOS from scratch. It doesn't just wipe your data; it wipes the entire operating system and replaces it with a clean version directly from Apple's servers.
Think of this as your ultimate fallback plan, guaranteeing that even a problematic device can be securely wiped and restored to perfect working order before you sell it.
How to Confirm Your iPhone is Truly Wiped
You’ve gone through the motions and hit ‘Erase All Content and Settings’. But there’s always that little voice in the back of your head, right? “Is it really, truly gone?”
Thankfully, confirming your digital life has been properly scrubbed from your iPhone is quick and easy. This is the last, crucial checkpoint before you can confidently trade it in with a trusted service like Trade.com.au.
Check 1: The "Hello" Screen
The most immediate and obvious confirmation is the welcome screen. After a successful factory reset, your iPhone will reboot and display a simple "Hello" that cycles through various languages. You'll see “G’day,” “Bonjour,” “Hola,” and others slide across the screen.
This is the exact same screen you see when you unbox a brand-new iPhone. It’s the universal signal that the device is back to its factory default state—no user accounts, no data, no personal settings.
This multilingual 'Hello' screen is exactly what our technicians at Trade.com.au look for when they receive a device. Seeing it immediately tells us the phone has been correctly prepared, which helps speed up the entire trade-in process for you.
If you’re seeing this screen, you’ve successfully wiped all the local data. But there’s one more check to be completely in the clear.
Check 2: Remove the Device From Your Apple ID Account
While the factory reset erases the data on the phone, the device itself might still be linked to your Apple ID account online as one of your trusted devices. Think of it like selling your old house but forgetting to take your name off the mailbox. Removing it is the final step to digitally disown the phone.
Here’s how you do it:
- Head over to appleid.apple.com in a web browser.
- Sign in with your Apple ID and password. Once you're in, look for the "Devices" section.
- You'll see a list of every device currently linked to your account. Find the iPhone you just wiped, click on it, and select "Remove from Account."
By completing this last check, you’re telling Apple’s entire ecosystem that you no longer own it. Now you can hand it over, knowing with 100% confidence that your personal information is safe.
Final Steps for a Successful Trade-In
You've done the digital heavy lifting, and your iPhone is now a clean slate. But before you send it on its way to us at Trade.com.au, a few quick physical checks can make the whole process even smoother and ensure you get the best value.
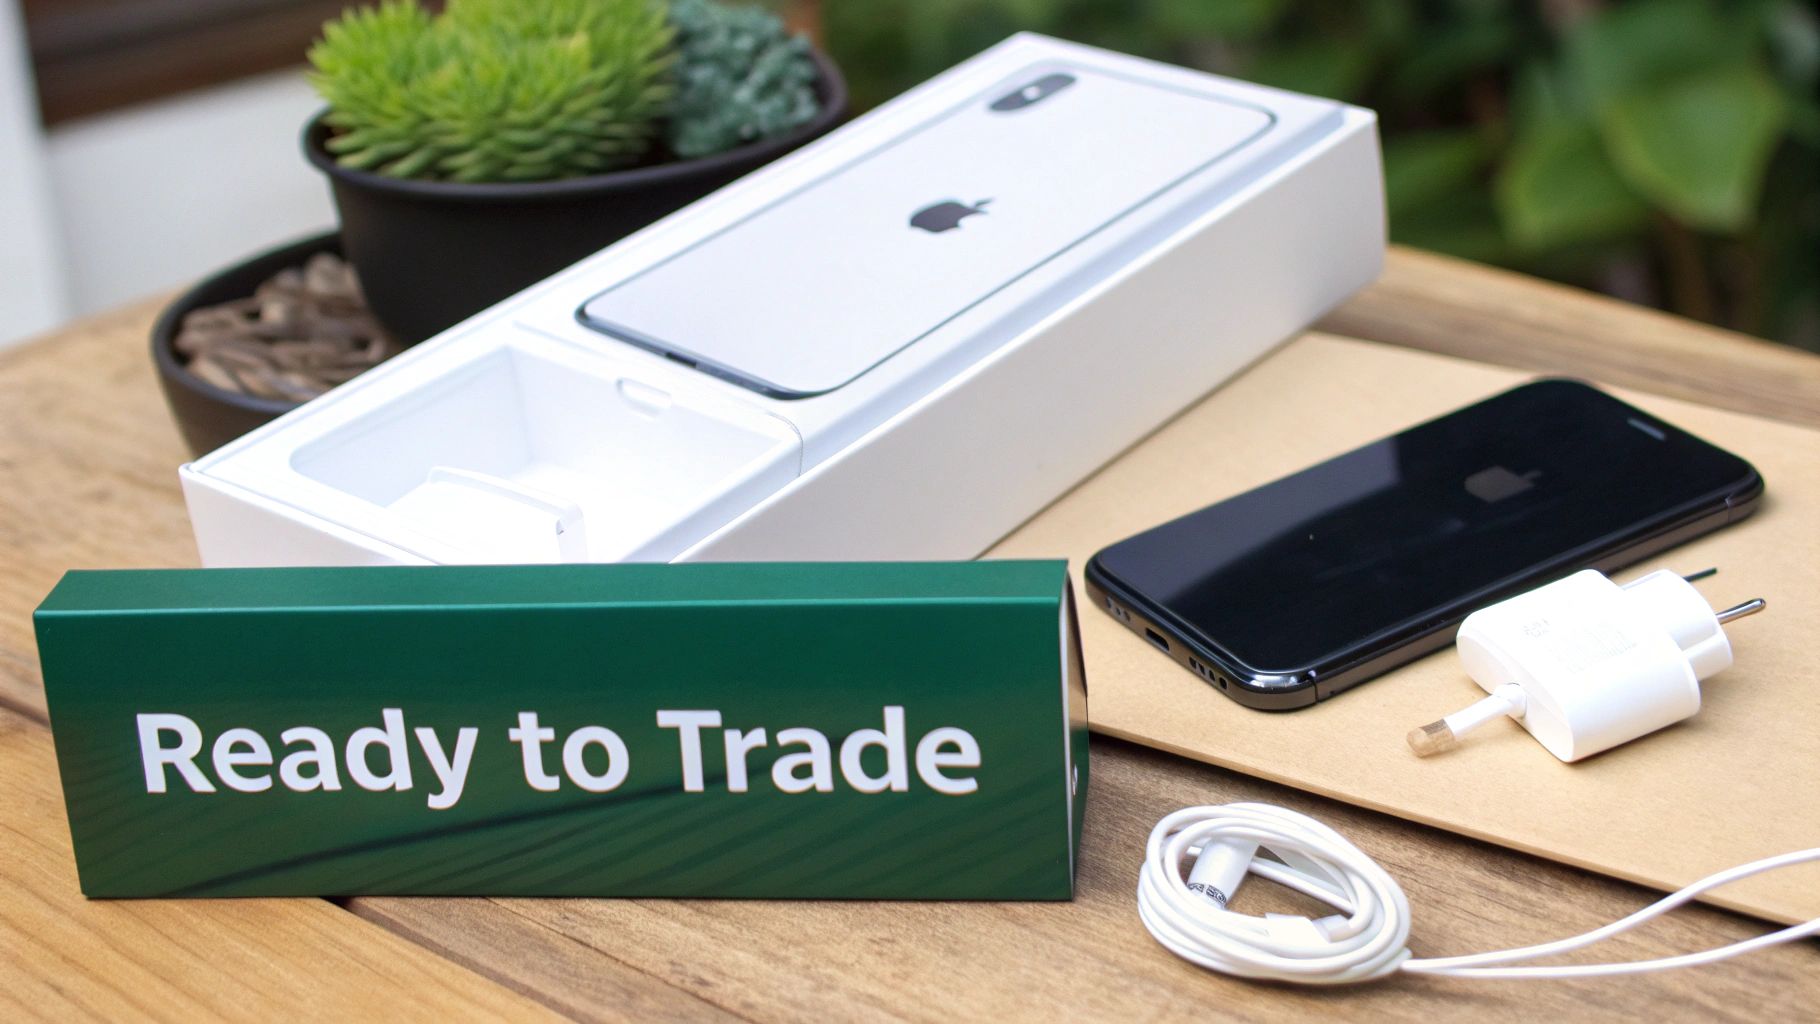
If you want a final sanity check, this guide on how to totally wipe an iPhone is a great resource to confirm every trace of your data is gone for good.
Give It a Gentle Clean
First impressions count. A clean iPhone looks like it's been well cared for and helps our technicians get straight into their assessment.
There's no need for harsh chemicals. A simple wipe-down with a soft, lint-free cloth (like a microfibre cloth) is all you need. If you've got a stubborn mark, just lightly dampen the cloth with a bit of water. Just be sure to unplug everything and power the phone down before you start.
Don't Forget These Commonly Overlooked Items
From our experience, two tiny items cause the most common trade-in delays. Checking for them takes less than a minute.
- Your SIM Card: Grab a paperclip or the SIM tool that came with your phone and pop open that little tray. Even though your plan is disconnected, the card itself can still hold personal contact info.
- Screen Protectors and Cases: It’s essential to remove any screen protectors and take the phone out of its case. This allows our team to properly inspect the screen and body for any damage.
It's a small step, but removing your SIM card is a final piece of privacy protection. Think of it as the physical equivalent of signing out of your iCloud account—it’s one last link to you that needs to be severed.
Gather the Original Accessories
While it's not always a deal-breaker, including the original box and accessories can sometimes boost your device's trade-in value. If you still have the charger and cable it came with, it's worth sending them in.
For a complete rundown of what helps get the best value, you can learn more about how to trade in your phone in Australia on our blog.
Once you’ve ticked off these final checks, your device is perfectly prepped. You're now ready to turn that old iPhone into cash, confident you've done everything right.
Common Questions About Wiping Your iPhone
Even with the best instructions, a few tricky questions always seem to pop up. It's completely normal to have a couple of "what if" moments, especially when you're dealing with a broken screen or an eSIM. Here are the most common ones, answered simply.
What Happens to My eSIM During a Reset?
This is a big one, especially since eSIMs are now standard in Australia. The good news is, Apple has made this pretty straightforward.
When you start the Erase All Content and Settings process, your iPhone will ask what you want to do with your mobile plan. You'll see two options: "Erase All & Keep Mobile Plans" or just "Erase All."
If you're selling or trading in the phone, you must choose the option that removes the plan. This deletes your eSIM from the device itself. Don't worry, this doesn't cancel your service with Telstra, Optus, or Vodafone—you'll just need to contact them to move your plan over to your new phone.
Reset All Settings vs. Erase All Content and Settings
It's so easy to mix these two up, but they do completely different jobs. Picking the wrong one can mean your personal data stays on the phone.
-
Reset All Settings: Think of this as a light refresh. It just puts things like your Wi-Fi passwords and wallpaper back to factory defaults. Crucially, it does not delete any of your personal data.
-
Erase All Content and Settings: This is the one you need. It's the full-blown factory reset that securely wipes everything—all your data, settings, and apps—and returns the iPhone to the state it was in when it first came out of the box.
A good way to remember it is: 'Reset All Settings' is like tidying up your desk. 'Erase All Content and Settings' is like clearing out the entire office before you hand the keys back.
How Do I Wipe an iPhone With a Broken Screen?
A smashed or unresponsive screen can feel like a game-over situation, but you're not stuck. If you can't get into the Settings app, you can wipe your iPhone from a computer.
Just connect the iPhone to your Mac (using Finder) or a PC (with iTunes). As long as your computer is one you've "trusted" before, it should connect automatically without you needing to tap anything on the broken screen.
Once it's connected, just find your device and click "Restore iPhone." This will download a fresh copy of iOS and completely wipe everything in the process, making sure your data is safe and secure.
Now that your iPhone is securely wiped and ready for its next chapter, the final step is turning it into cash. At Trade.com.au, we make it simple to sell your old tech and find fantastic deals on certified refurbished devices you can trust.