
Wipe Phone iPhone: A Quick, Secure Guide to Wiping Your iPhone Before Selling
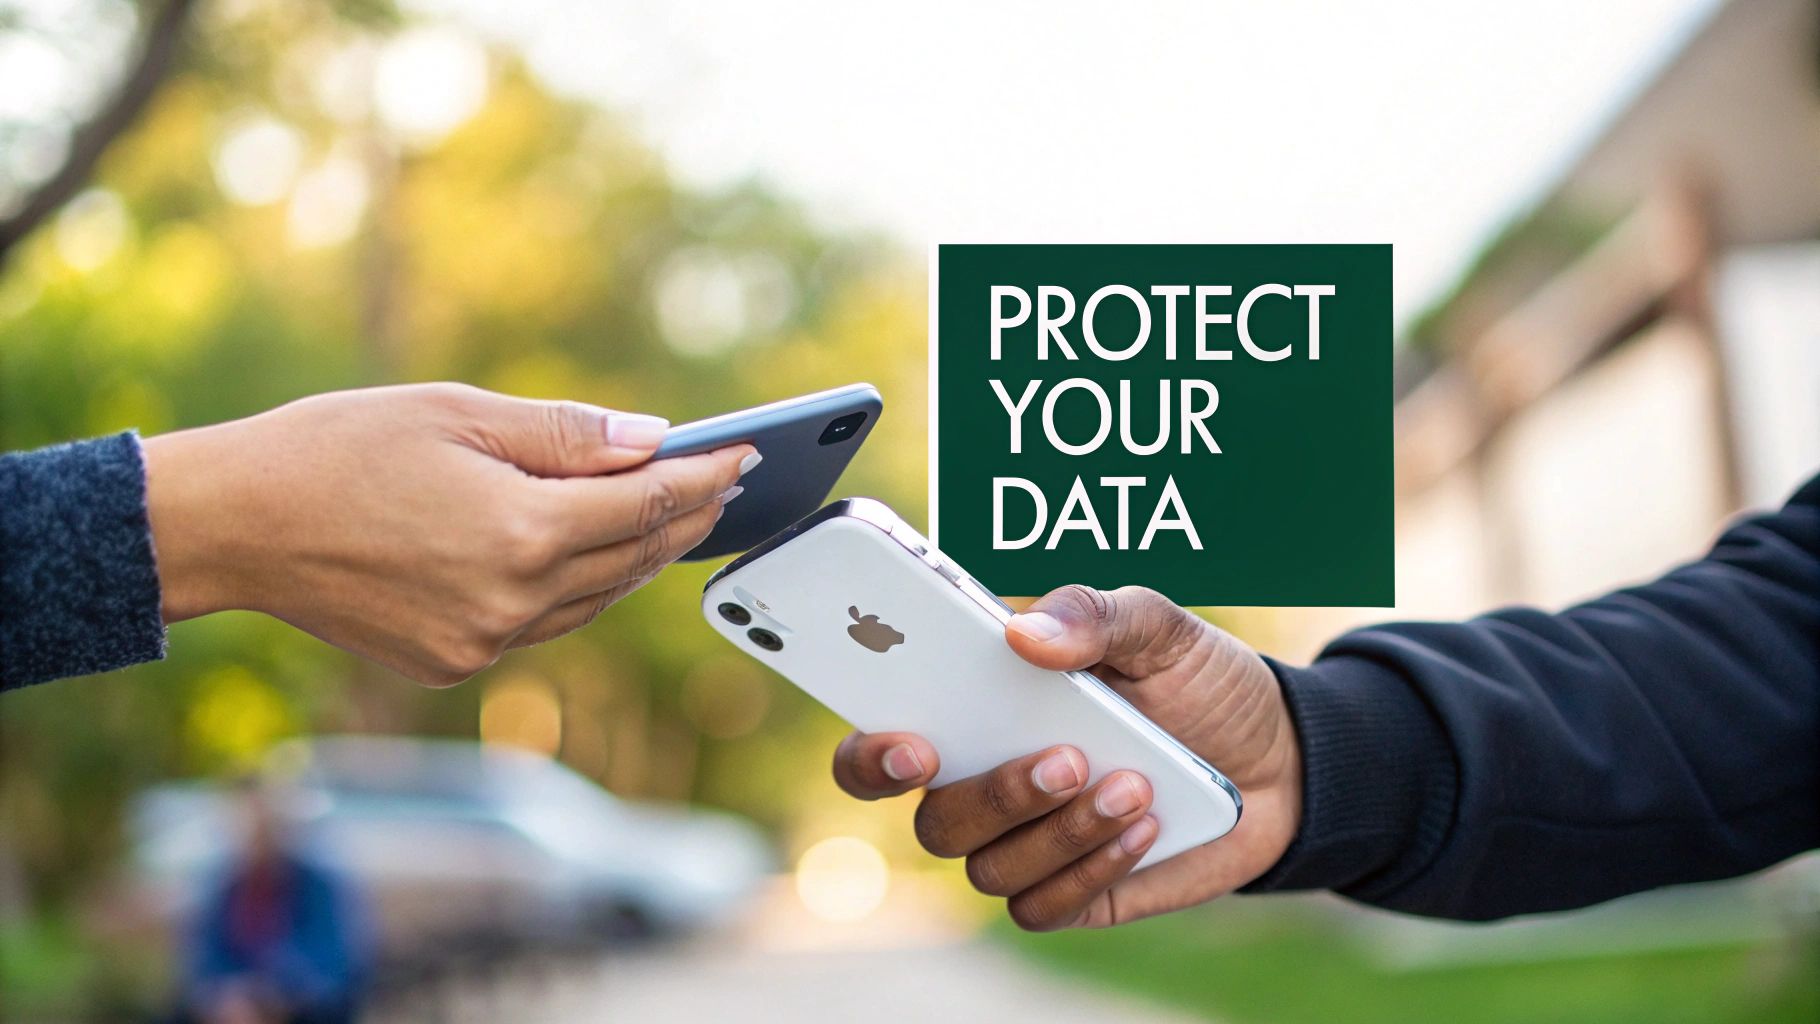
So, you're ready to sell, trade in, or pass on your old iPhone. Before you do anything else, the most critical step is to securely wipe every last bit of your personal data off it. Think of it like a digital clean slate. To do this properly, you need to perform a full factory reset, which completely erases all your content and settings.
Why You Must Securely Wipe Your iPhone Before Selling
Think about it: your iPhone is a treasure trove of personal information. It holds your private messages, banking details, photos, passwords, and location history. Handing it over without a proper wipe is like leaving the keys to your house on the front doorstep. It’s not just about protecting your own privacy; it’s also about making sure the new owner has a clean, ready-to-use device.
The Risks of an Incomplete Wipe
Skipping a full factory reset can cause some serious headaches for both you and the buyer. Even seemingly harmless leftover data can sometimes be recovered by someone with the right tools. More importantly, leaving your Apple ID active triggers a security feature called Activation Lock, which basically turns the iPhone into an expensive paperweight for the next person.
Here’s a rundown of what can go wrong if you don't wipe your iPhone correctly:
- Data Vulnerability: Your financial app logins, private conversations, and personal photos could still be accessible.
- Activation Lock: If you don't sign out of your Apple ID and turn off 'Find My', the new owner will be completely blocked from setting up the phone. This is a huge, and very common, issue.
- Login Annoyances: The new user might get hit with constant pop-ups asking for your old passwords for the App Store or other services.
With iPhones being so popular here in Australia, these problems pop up more often than you'd think. Apple currently holds a massive 58.92% of our local mobile market share, meaning millions of Aussies are using these devices every single day. Knowing how to properly manage your device when it's time to move on is a key part of being a responsible owner. You can explore more iPhone statistics to see just how dominant they are.
Peace of Mind is the Goal
Ultimately, you want to hand over a device that’s a complete blank slate. A proper, thorough wipe guarantees your data is safe and the phone is genuinely ready for its next chapter. It's a straightforward process that offers total peace of mind and makes the selling or trade-in experience smooth for everyone involved.
Your Pre-Wipe Checklist For a Flawless Reset
Jumping straight into a factory reset without any prep is a bit like moving house without packing boxes first—it’s a recipe for chaos and lost valuables. Before you even think about wiping your phone, running through a few crucial steps will ensure the process is smooth, secure, and completely stress-free.
First up, and this is non-negotiable, is backing up your data. This is your digital safety net, making sure your photos, contacts, and messages are tucked away safely before they're erased from the device for good. You've got two main ways to go about this, each with its own pros and cons.
Back Up Your Precious Data
Think of iCloud as the convenient, set-and-forget option. It works quietly in the background over Wi-Fi, which is perfect for most people who just want daily backups without having to think about it.
However, if you want a faster, more complete archive of your iPhone, plugging it into a Mac or PC is the way to go. This creates a full local copy of your device, which is often much quicker than waiting for a large backup to upload over your internet connection. Before you do a full reset, it's absolutely essential to securely back up your important files to prevent any data loss.
For a deeper dive into cloud storage, check out our complete guide on how to back up your data on iCloud in Australia. It's packed with tips to make sure you don’t miss a thing.
iPhone Backup Method Comparison iCloud vs Computer
Struggling to decide which backup route is for you? This quick comparison should clear things up.
| Feature | iCloud Backup | Mac/PC Backup (Finder/iTunes) |
|---|---|---|
| Convenience | Excellent. Automatic daily backups over Wi-Fi. No computer needed. | Good. Requires you to manually connect your iPhone to a computer. |
| Speed | Slower. Depends entirely on your internet connection speed. | Faster. Uses a direct cable connection, making large backups much quicker. |
| Storage Limit | Limited. Starts with 5GB of free storage; more requires a paid monthly plan. | Flexible. Limited only by the available storage space on your computer. |
| What's Backed Up? | Backs up most data, but not content already synced to iCloud (like Photos, Contacts). | Creates a more comprehensive, full image of your device, including app data. |
| Best For | Effortless, everyday protection and easy setup on a new iPhone. | Complete, fast backups and when you have a poor internet connection. |
Ultimately, there's no wrong choice here. iCloud is fantastic for convenience, while a computer backup gives you that rock-solid, complete archive for total peace of mind.
Sign Out of Everything
Once you're confident your data is safely stored, the next critical step is to manually sign out of your Apple ID. This is the key that deactivates Activation Lock, the powerful security feature that links your iPhone to you. If you forget this, the phone becomes a paperweight for the next person, as it will forever be locked to your account.
Here’s how you sever those digital ties properly:
-
Sign Out of iCloud: Head to
Settings > [Your Name]and scroll all the way to the bottom. TapSign Out, punch in your password, and choose to remove your data from the device. - Turn Off 'Find My': This step is technically part of the sign-out process, but it's so important it deserves its own mention. Disabling 'Find My' is what officially releases the Activation Lock.
Pro Tip: Whatever you do, don't just wipe the phone while you're still signed in. This is a common mistake that causes major headaches for both sellers and buyers. Always, always sign out of your Apple ID before you proceed to the final erase.
Taking a few minutes to handle these preparatory steps ensures that when you finally wipe your phone, you’re not just deleting your data—you’re preparing the device for a clean, hassle-free handover. It protects your privacy and guarantees the new owner can start fresh without hitting any frustrating roadblocks.
How to Wipe Your iPhone Data Step by Step
With your precious data safely backed up, it’s time for the main event: completely wiping your iPhone. This is the final, irreversible step that restores your device to its original factory state, making absolutely sure none of your personal information is left behind for the next owner.
Most of the time, you'll use the simple and secure method right from your iPhone's settings. But life isn't always perfect. A smashed screen or a lost device calls for a different game plan. We’ll cover all the bases so you’re prepared for any scenario that comes your way.
The Standard Method: Erasing from Your iPhone Settings
For a fully functional iPhone, this is your go-to. It’s quick, secure, and Apple has made the process incredibly straightforward over the years. No cables, no computers, just you and your phone.
Here’s all you need to do:
- Open the Settings app on your iPhone.
- Tap on General.
- Scroll right down to the bottom and select Transfer or Reset iPhone.
- Finally, tap Erase All Content and Settings. You'll be asked for your passcode and possibly your Apple ID password just to confirm you’re serious.
Once you give the final okay, the process kicks off. It usually only takes a few minutes. Your iPhone will restart and greet you with that multilingual "Hello" screen, just like it did the day it came out of the box.
The Backup Plan: Using a Computer for a Damaged iPhone
What happens if your iPhone's screen is shattered or totally unresponsive? You can’t exactly tap through the settings menu if the display is black. In this situation, your Mac or PC becomes your best friend.
To get this done, you'll need to put your iPhone into recovery mode. This special state allows your computer to communicate with the phone and perform a full restore. The button combination varies a little depending on your iPhone model, but it generally involves pressing and quickly releasing the volume buttons, then pressing and holding the side button until the recovery mode screen appears.
Once your phone is in recovery mode, connect it to your computer.
- On a Mac: Open a Finder window and you'll see your iPhone pop up in the sidebar.
- On a Windows PC: Open the Apple Devices app or the older iTunes application.
Your computer will detect an iPhone in recovery mode and present you with an option to Restore. Clicking this will download the latest iOS software from Apple and completely wipe the device, installing a fresh, clean operating system in the process.
This decision tree shows the two main backup paths you can take before wiping your device.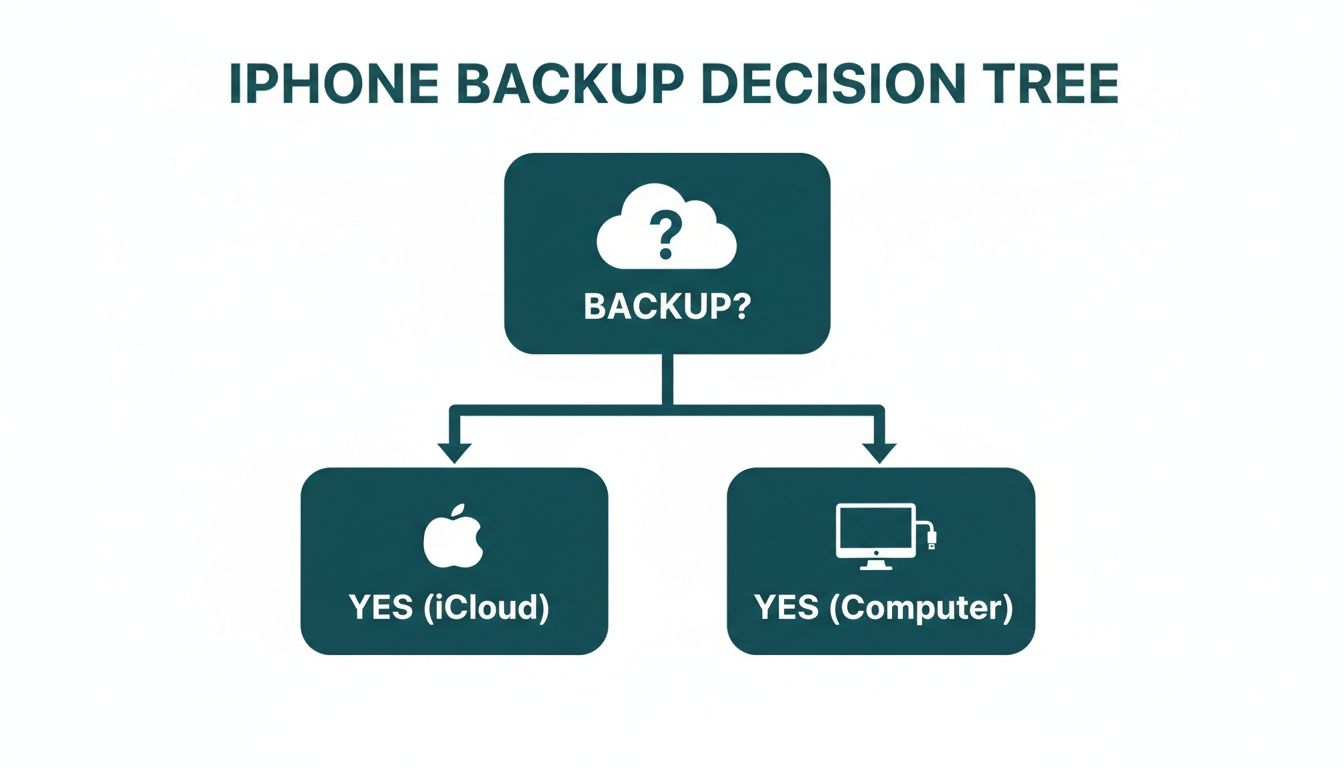
This visual guide reinforces that both iCloud (for convenience) and a computer (for speed and completeness) are excellent ways to secure your data.
The Remote Wipe: Using Find My for a Lost or Stolen iPhone
Losing your phone is a uniquely stressful experience, but thankfully you can still protect your data even if the device is gone for good. This is where Apple's Find My feature becomes a true lifesaver, allowing you to remotely wipe your iPhone from anywhere in the world.
Important Note: A remote wipe is the nuclear option. Once you do it, the action is permanent and cannot be undone. Only use this if you are certain you won't be getting your device back.
To perform a remote wipe, you’ll need to access your iCloud account from another device—a computer, an iPad, or even a friend's phone.
- Open a web browser on any computer and head to
iCloud.com/find. - Sign in with the Apple ID and password that's linked to the lost iPhone.
- Click on "All Devices" and select the iPhone you need to erase from the list.
- Choose the Erase iPhone option and follow the on-screen prompts to confirm.
If the lost iPhone is offline (turned off or without a connection), the erase command will be queued up. The very moment it connects to the internet again, the wipe will begin automatically. Better yet, even after the wipe, Activation Lock remains on, making the phone a useless brick to anyone else without your Apple ID password.
Confirming the Wipe and Performing Final Checks
You’ve gone through the steps, tapped that final confirmation, and watched your iPhone restart. But hold on a second. Before you pop it in a box and send it off, a few last-minute checks are crucial to make sure the job is done right. This is the final lap—confirming the data is gone and taking care of the physical details people often forget.
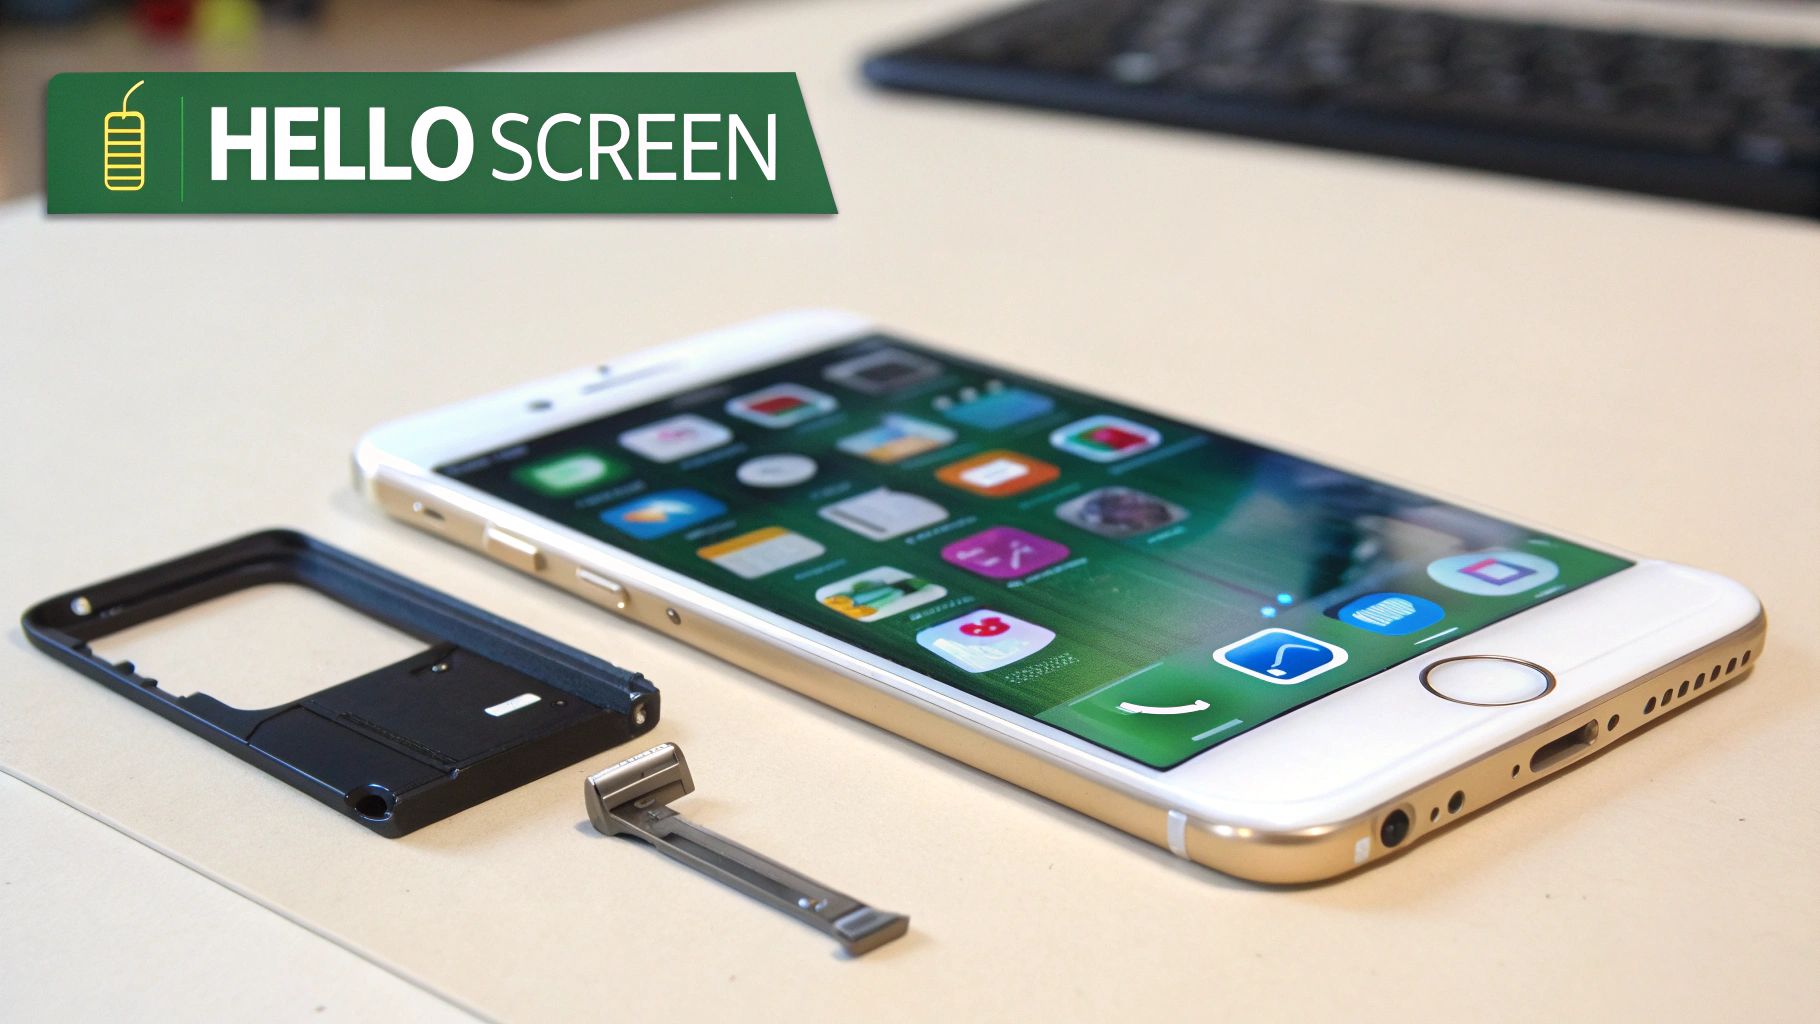
The clearest sign of a successful wipe is the multilingual "Hello" screen popping up. This is your iPhone’s way of saying it’s back to its original factory state. It’s a clean slate, with absolutely no trace of your data, apps, or personal settings left behind. If you see this screen, you can breathe a sigh of relief; the digital part of the job is complete.
The Final Physical Touches
With your data securely erased, it’s time to prep the phone itself. These small but vital steps ensure the device is genuinely ready for its new home and won't cause any headaches later on.
- Remove Your SIM Card: This is a big one. Forgetting your SIM card can leave your phone number and mobile plan tied to the device, which could lead to some nasty surprise charges. Grab a SIM ejector tool (a paperclip works in a pinch), pop out the tray, and take your card out.
- Take Off the Case and Screen Protector: The next owner will want to see the phone's true condition. Removing old cases and screen protectors gives them a clear, honest view and lets them start fresh.
- Give It a Gentle Clean: You'd be surprised what a quick wipe with a soft, microfibre cloth can do. Cleaning smudges off the screen and back makes the phone look its best for sale photos or an in-person inspection.
A clean, well-presented device doesn’t just look more appealing; it tells the buyer it’s been looked after. It’s a small bit of effort that builds trust and can help you get a better price.
Why This Matters in a Growing Market
Getting your old device ready properly is more important than ever. Here in Australia, the refurbished smartphone market is booming as people look for better value and more sustainable options. In fact, projections show a massive 73.1% rise in refurbished device shipments is expected in 2025, with strong growth set to continue. Taking these final steps ensures your phone is a quality addition to this cycle.
By confirming the wipe and handling these physical details, you’re not just protecting your own data; you’re making sure the next person has a smooth, positive experience.
And if you hit any snags with your Apple ID during the wipe, it's worth checking our guide on how to remove iCloud from an iPhone to sort out any lingering account connections. Now, your iPhone is officially and completely ready for its next adventure.
What To Do With Your Freshly Wiped iPhone
Alright, you've done it. Your iPhone is now a completely clean slate, wiped of all your personal data and ready for its next chapter. So, what's next? You could toss it in a drawer and forget about it, but where's the sense in that?
Instead of letting good tech go to waste, you can give it a second life and get paid in the process. This is exactly where trading in your device makes perfect sense.
At Trade.com.au, we've built a straightforward and transparent trade-in process for Aussies everywhere. Whether you're in Brisbane, Perth, or anywhere in between, you can easily turn that old phone into cash. It's a smart move that's good for your wallet and even better for the planet.
Turning Your Old iPhone into Cash
We designed the whole process to be completely hassle-free. It all starts with getting a quick, obligation-free quote on our website to see what your device is actually worth. We give you a clear valuation based on its model and condition, so you know exactly what to expect right from the get-go.
Once you’re happy with the offer, we make it simple to get your device to us. No confusing instructions or hidden fees—just a direct path to getting value from the tech you no longer need. It's the perfect final step after you've taken the time to securely wipe your iPhone.
The Smart, Secure, and Sustainable Choice
Choosing a verified Australian marketplace like Trade.com.au means you’re not just selling a phone; you’re making a secure and responsible decision. We handle every device we receive professionally, giving you total peace of mind that your old tech is in good hands.
Trading in your device is a great way to contribute to the circular economy. By giving your iPhone a new life, you help reduce e-waste and make quality technology more accessible and affordable for other Australians.
This is a key part of our mission to provide a trustworthy platform for buying and selling refurbished tech. If you’re looking for more information on responsible recycling, this guide on how to securely dispose of old iPhones is a great resource.
For a more detailed breakdown of how to get the most money for your old device, check out our guide on how to sell your mobile phone online in Australia. It's packed with practical tips to help you navigate the process with confidence and get the best possible return.
Got Questions About Wiping Your iPhone? We’ve Got Answers.
Even after following a guide, it's completely normal to have a few last-minute questions. When you’re about to wipe your phone, you want to be absolutely sure you’re getting it right. Let's tackle the most common queries we see, so you can proceed with confidence.
Does a Factory Reset Actually Erase Everything for Good?
Yes, it absolutely does. On any modern iPhone, running the "Erase All Content and Settings" function is incredibly secure. The best way to think about it is that your data is locked behind a powerful encryption key. The factory reset doesn't just empty the contents; it completely destroys the key.
Once that key is gone, all the data on the device becomes permanently inaccessible and unreadable gibberish. For selling, trading, or repairing your phone, this method is more than enough to ensure your personal information is gone forever.
What Happens If I Forget to Turn Off Find My?
This is a big one, and it happens more often than you'd think. If you forget to disable "Find My," the iPhone’s Activation Lock will remain active even after the phone has been completely wiped. This is an anti-theft feature that ties the device to your Apple ID, making it impossible for anyone else to set it up without your password.
Thankfully, there’s an easy fix you can do remotely. Just log into iCloud.com using any web browser, open the "Find My" app, and find the iPhone you just wiped. You’ll see an option to "Remove from Account." Clicking this will deactivate the lock and free up the phone for its new owner.
Key Takeaway: Forgetting to turn off "Find My" creates a massive headache for the next person. Always try to do it before you wipe, but remember that iCloud.com is your safety net if you slip up.
Will Wiping My iPhone Get Rid of the iOS Software?
Nope. Wiping your iPhone is all about your personal information. It deletes your photos, messages, apps, and custom settings like Wi-Fi passwords and wallpapers. The core operating system (iOS), however, stays completely untouched.
Once the reset is done, the iPhone will boot up to the classic multilingual "Hello" screen, just like a brand-new device. It'll be running the exact same version of iOS it had right before you wiped it, giving the new owner a fresh, up-to-date starting point.
Ready to give your freshly wiped iPhone a new life? Get a fast, fair quote from Trade.com.au and discover how easy it is to turn your old tech into cash. Explore our simple trade-in process at https://www.trade.com.au.